How to start your own podcast
I love making podcasts. They work on my behalf around the clock—anyone with an internet connection can listen to my ideas and to topics that I care about at their convenience. They also take comparatively less time to make than blog posts, at least in my experience.
I've been podcasting for over three years as co-host and producer of Everything Hertz, so I've learnt a thing or two along the way. Given the increasing interest in podcasting, and the growing number of requests I get for a podcast guide, I've put together this blog post. It will walk you through all you need to know to start your own podcast, including hardware, software, recording, editing, hosting, fundraising, and promotion.
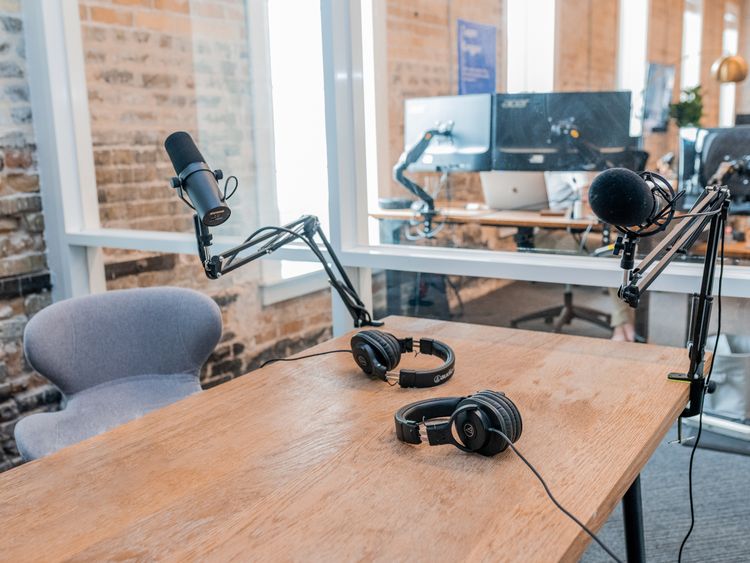
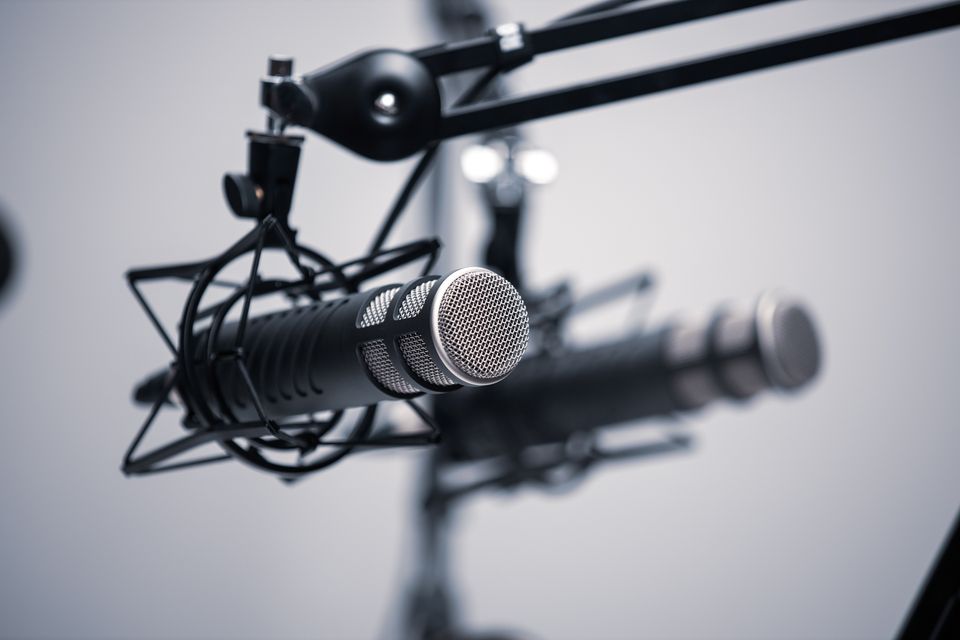
Microphone
If there's one thing you should spend money on it's a microphone. Sure, you could record using your desktop or smartphone's built-in microphone, but the sound quality won't be great. Check out this massive guide on podcast microphones, which suits a range of budgets. If you're just getting started, it's best to begin with a USB microphone, as there's much less hassle with these, compared to a XLR microphone.
A great starting microphone is the Samson Q2u, which includes a USB output and is great value for money. Importantly, there's also a headphone output built into this microphone (more on this later).
When it comes to microphones, one area in which your audience will give you a little grace is if your guest doesn't have a dedicated microphone. I think this is because audiences are accustomed to TV and radio guests occasionally having poorer quality audio—but they're not used to hosts having poor audio. Of course, it's preferable if your guest has a dedicated microphone, but this shouldn't stop you from interviewing them if they don't have one.
Headphones
Your podcast headphones perform three primary functions:
- Hearing your co-host/guest
- Hearing yourself
- Preventing your microphone from picking up your guest's audio
If you're starting out, the type of headphones you use doesn't matter too much, but an important consideration if you're working with guests or co-hosts is that you don't want their voices to bleed out of your headphones into your microphone. This can be a pain to edit out. You either want to use "in ear" headphones, or "over the ear" headphones. Here's an explainer on what these terms mean if they're new to you.
If you have a budget, I recommend Sony MDR-7506 headphones. These are a good option because they provide a very 'neutral' sound, compared to other headphones that add a lot of unnecessary bass. They're also comfortable to wear over long periods.
Software for recording audio
If you're on a Mac, you can use QuickTime to record audio. This app comes with all Macs and it's easy to use. If you're on a PC, you can use the Voice Recorder app. I haven't used this myself, but I understand it's also straightforward to use.
Working with guests and co-hosts
You can use video conferencing software, such as Skype or Google Hangouts to chat to your guests/co-host and ask them to record the audio on their end. After the recording, they can send you their file which you can use for editing. This approach is often referred to as a 'double-ender', because the audio is recorded at both ends. WeTransfer is a good option for sending large audio files, but there are plenty of alternative available.
It's also possible to record your guest's audio, but this is risky if the video conferencing audio cuts out. So unless your guest is not comfortable recording their own audio, I would advise against this.
Podcast hosting
You'll need to host your audio files somewhere in order to distribute your episodes to podcast directories. Along with your audio file, you will also need to include some standard information, like podcast title, episode titles, and episode descriptions. With these files and information, you can produce an RSS feed, which are sent to podcast directories, like Apple Podcasts or Google Podcasts.
This may seem a bit daunting, but there are many services that will do the technical legwork for you for relatively little money (or for free). All you have to do is supply the files and episode descriptions. Most podcast hosting services provide clear instructions on how get your podcast on the main podcast directories.
There are several options available for hosting, and you generally get what you pay for. If you want to get started for free, you should check out Acast's 'starter' tier. If you have a budget, I recommend Fireside ($19 per month), as you get a nice website for your podcast, it's a pleasure to use, and you get great analytics regarding where your listeners are located and how many downloads each episode is getting.
Podcast editing
Editing is an important consideration for your podcast, but you don't need expensive software to make your podcast sound good. Editing typically takes anywhere from 1.5 to 2 times the length of your episode, so factor this time in. Some people prefer to heavily edit the content of their podcasts, which is fine, but I prefer to leave the recording relatively untouched as this feels more like a natural conversation. It's up to you.
There are six key audio elements that you should edit in your audio files. The following demonstrations primarily use iZotope RX elements ($129). However, some of these elements can addressed in Auphonic (free for up to two hours of processing a month), which is covered below. These elements are ordered from most important to least important, in my opinion.
Editing raw audio files
1. Background hums and hisses
Hums that can interfere with your recording can have various sources, including laptop/desktop fans, air conditioners, or other any other appliance that emits a hum. I could try and describe the impact of hums on your recording, but as we're dealing with sounds this is much easier to demonstrate with a video clip.
Part 1 of the next video begins with an audio clip with no talking, so that you can hear the background hums and hisses, followed by some talking. Notice that you can still notice the hums and hisses during the talking segment. I've visualised the audio using a spectrogram via iZotope RX. In part 2, I remove the background noise by providing a sample of dead noise so that the software can get a 'fingerprint' of the background noise in this recording. I do this using the 'Spectral De-noise' module. With this fingerprint, I can then strip the background noise from the entire audio file. Notice how the spectrogram changes from the first sample. In part 3, I play the cleaned clip.
2. Mouth clicks
These mouth clicks (also known as mouth or lip smacking) are caused by saliva, and can annoy your listeners. In the next clip you can hear a clip with mouth clicks (Part 1), followed by an audio sample demonstrating how to clean these mouth clicks using the 'Mouth De-click' module in iZotope RX (Part 2) and what the clean version sounds like (Part 3). There's one stubborn section that I need to go over again, by increasing the repair area (Part 4).
3. Consistent volume
This is both in terms of within your recording and also in terms of volume compared to other podcasts. There's actually a loudness standard for podcasts, so that they volumes between podcasts are roughly the same. You can fix this in Auphonic, using the Target loudness setting (more on this below).
4. Plosives
These are hard consonant sounds (especially the letters 'p' and 'b') that can produce a wind-like noise, which can irritate listeners. Using a pop/wind shield can help reduce these plosive sounds. In the next clip, you can hear an audio sample with a plosive (Part 1), followed by a demonstration of how to clean this plosive sound using the 'De-plosive' module in iZotope RX (Part 2), and what the clean version sounds like (Part 3).
5. Audio clipping
This is when your audio level is too loud for the capability and/or settings of your recording device. Clipping can be reduced in production, but you're better off preventing this in the first place This can occur if you're speaking too close to your mic, for instance. Most recorders will flash red when this occurs, to give you a visual warning. Make sure you test your levels and mic position before you recording, and keep an eye out for clipping during your recording.
6. Esses
Harsh 's' noises can sound grating for many people. Good mic positioning can help reduce this, so try a few different positions. In the next clip, you can hear an audio sample with an ess sound (Part 1), followed by a clip demonstrating the isolation of the ess sound (Part 2). Here, you can adjust the detection sensitivity. Next, I remove the ess sound (Part 3) and then play the cleaned clip (Part 4).
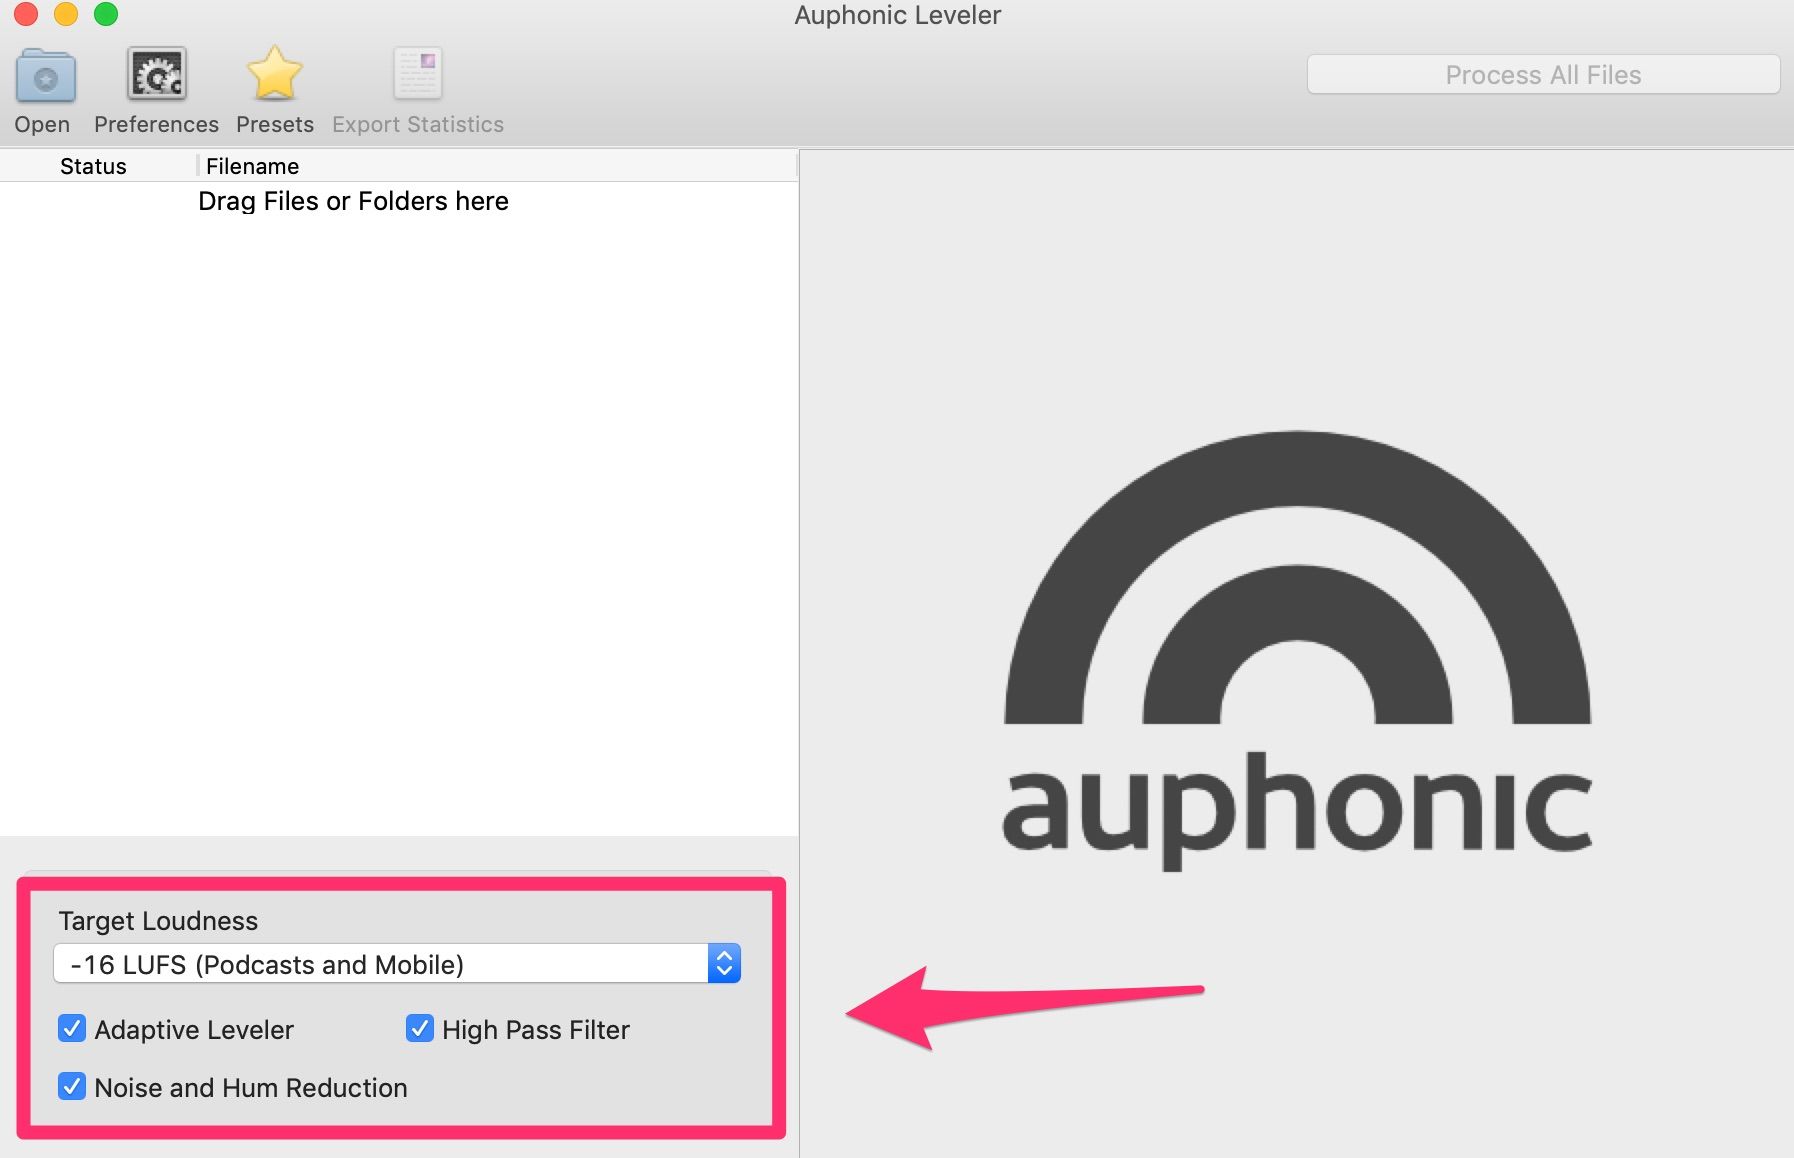
An overview of Auphonic for audio editing
As mentioned above, two hours a month of audio processing with Auphonic is free, and up to 9 hours of processing costs $11 per month. You can purchase an unlimited personal licence for $89. Here are the main features of Auphonic:
- Target loudness: This adjusts the overall loudness of your podcast to the industry standard. Select the 'Podcasts and Mobile' option, obviously. Here's more on loudness standards, if you're interested
- Adaptive leveler: Makes your podcast the same loudness throughout. This will help fix if your guest recorded their audio using a lower or higher volume
- High pass filter: Removes low frequency interference
- Noise and hum reduction: Removes annoying background hisses and hums
Despite the availability of these tools, you'll save yourself time by adopting good mic technique via monitoring your audio during your recording via your headphones. If you're too close to your mic, you increase the risk of clipping or mouth clicks. Having the mic directly facing your mouth can also increase the risk of plosive sounds.
Here is a clip demonstrating how Auphonic performs when cleaning audio clips. It does a really good job considering Auphonic is automatic and free (Part 1 is the raw audio and Part 2 is after cleaning the audio using Auphonic). The background noises and mouth clicks are taken care of nicely The only thing that Auphonic misses is some of the harsh ess sounds, but I'm being a bit picky here.
Putting your clean clips together
Now that your clips have been cleaned, the second main part to editing is putting everything together and cutting sections you want to remove. You can use either GarageBand or Audacity for this. If you have the budget, Hindenburg is a great option, as it's primarily designed for editing podcasts and radio.
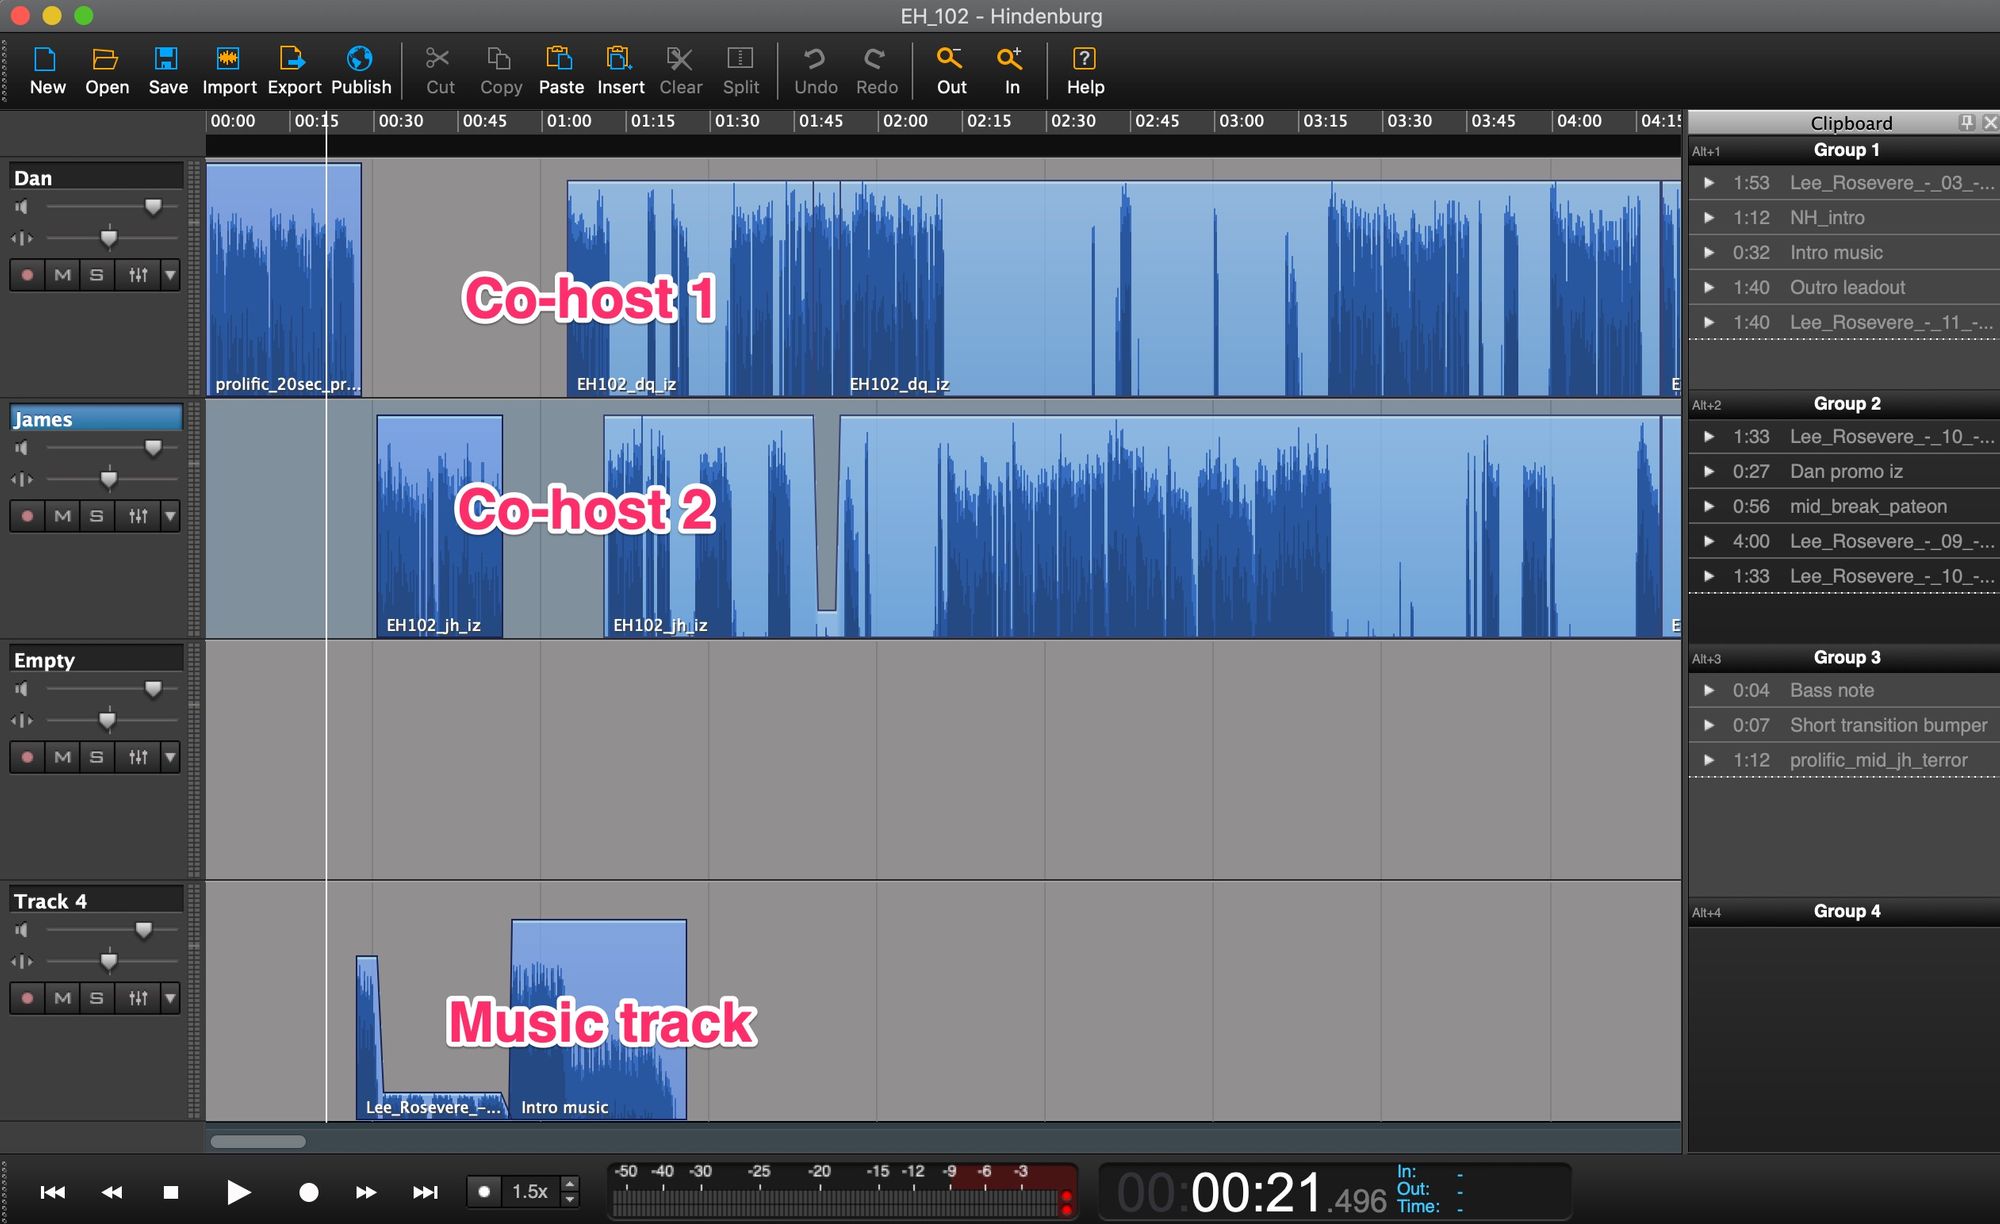
If you want to add royalty-free music, perhaps for an intro or outro, GarageBand has a large library. You can also use music from Lee Rosevere for free, with acknowledgment.
When you're done with editing, make sure you export your file as an MP3. This is the preferred format for podcast hosting services, as these files aren't too big. Exporting your file in mono format will also help reduce the file size.
So here's a summary of a editing workflow that will cost you nothing:
- Record audio tracks as WAV files, using good mic habits to reduce clipping, mouth clicks, and plosives.
- Put individual audio tracks through Auphonic, using the standard settings.
- Put together audio in GarageBand/Audacity/Hindenberg, exporting as a WAV file.
- Run this file through Auphonic, but only select target loudness and export as an MP3.
Interviewing guests
You can use video conferencing software, such as Skype or Google Hangouts to chat to your guests and ask them to record the audio on their end. Of course, it's possible to also record their audio, but when using Skype the recorded signal will include both your co-host and your guest. This can be harder to edit given the different recording conditions between you and your guest/co-host.
You can also record the video of your conversation using OBS (free) or eCamm Live ($12 per month, Mac only). Some people prefer watching videos, so you can post your episode as a video on YouTube.
Even if you don't post your entire episode, you can use short video clips to promote episodes on social media (more on this below).
When it comes to preparing for guests, this is up to you and the style of your podcast. Of course, you should respect the time of your guests and come prepared, but also consider a more freewheeling interviewing style for your podcast, if that suits you. It's also good to give your guests a heads up on the sorts of questions you'll be asking, so that they can prepare.
Financial support
Before I get into financial support, I want to remind you that it's possible to create and produce a good podcast for $40.
Here's a breakdown of hardware and software you'll need:
- Microphone: Samson Q2u ($40)
- Headphones: The ones you already own (free)
- Recording: Quicktime/Voice Recorder App (free)
- Editing: Garage band/Audacity (free) + Auphonic (free for 2 hours of audio processing per month)
- Hosting: Acast (free)
You should start considering financial support if you would like to improve your recording gear, software, and services that you use, but you don't need this, especially for the first bunch of podcasts that you record.
If you would like to get additional financial support, there are two options. Direct support from your listeners (e.g., Patreon, merchandise) or advertising. Don't even think about this until you're up to episode 20, just focus on building momentum and on the podcast itself. For Everything Hertz, we didn't start a Patreon account until around episode 75 and advertising and merchandise until episode 100. You need to demonstrate to yourself AND your potential supporters that your podcast has longevity.
Of course, I understand that people have different financial situations. I'm on an average full-time salary, so was fortunate enough to have some money left over to spend on podcast gear and services before we got any financial support. But when after we started a Patreon account, we were able to get a new logo designed, move our podcast hosting to Fireside, and upgrade our equipment.
Patreon: This is a great way to help ensure recurring financial support, but make sure you offer a valuable bonus to your patrons. An easy bonus to make is an extra episode. For our Everything Hertz $5 per month patrons, we release a 15-20 minute bonus episode every month. This is on top of our regular 2 episodes per month.
Advertising: I was hesitant to talk about advertising, because the chances of getting someone on board to sponsor your new podcast is very slim—how will sponsors know people will be listening? However, I decided to address this anyway because this is a question I get a lot.
If you're going to include advertising, make sure it's a good match for your audience and that you actually believe in the product. It's easy to tell when podcasts hosts are just going through the motions with the products and services they're advertising. You'll want at least 1000 listeners per episode before you can even begin attracting advertisers, in general.
Don't feel that you need ads just because the podcasts you listen to have ads. I recommend holding off for as long as possible. If you're starting to gain attention in your niche, companies who also reside in your niche may contact you. Otherwise, you can reach out to potential advertisers and offer an advertising spot. Again, don't rush into this and think long term.
Merchandise: It's really easy to set up an online store on a platform like Teespring, which sells t-shirts, hoodies, stickers, sweaters, and much more. Each product has a minimum price, so the profit that you get, over and above the minimum price, is up to you.
On the Everything Hertz online store, we make a a very modest profit, as we'd rather our listeners have merchandise. Specifically, each product has a 20% profit margin, so that we can offer discounts to our Patreon supporters, who get our merchandise at (basically) cost price, and so that we can have seasonal promotions (e.g., 20% off sale for Christmas).
All you need to start your own merch store is a high quality image of your podcast logo and you're good to go. The great thing about Teespring is that there's no upfront cost. If no one buys merch, it won't cost you anything. At the very least you can buy merch for yourself.
What you should spend your money on
Here's my recommended order of what you should spend money on, whether this is from your own budget, from listener support, or from advertising.
- Starter USB microphone with headphone output ($4o-$100)
- Good headphones if you don't already own some ($80)
- Host your podcast on Fireside ($19 per month) + domain name ($10-$20 per year)
- iZotope RX elements ($129)
- Hindenburg ($100)
- Podcast logo ($300 on 99designs.com)
- Record your episodes using eCamm live ($12 per month)
- Upgrade your microphone ($250, plus a $100+ XLR interface)
Remember: The only thing you need to get started is a microphone! Don't worry if you don't have the budget for these other items, this is just a wishlist. Feel free to use a different order according to your needs.
Sharing your podcast on social media
Don't badger your audience to give your podcast five starts on Apple podcasts. There's no clear evidence, that I know of, that this actually increases your audience. This is one of things that people do because they hear other people doing it. A more effective way for people to discover your podcast is for you to share it on social media and to encourage your listeners to share it to their own networks, either via word-of-mouth or social media.
They key with getting someone to listen to a podcast that's mentioned on social media is to reduce friction as much as possible. Here's how you can share your podcast on Twitter and Facebook, ordered from the approach with the most friction to the approach with the least friction.
- Announcing you have a new episode
- Announcing you have new episode with a link to the episode (many podcast hosts provide a link that will create a mini-player in Twitter, also known as an audio card)
- Announcing you have a new episode using an audiogram or video, along with a link to the episode.
Here is an example of a preview video, recorded using eCamm Live:
102: Master of none https://t.co/pdy5IkL5ru
— Everything Hertz (@hertzpodcast) February 17, 2020
Should research scientists build their knowledge and skillset broadly at the risk of being a master of none? In this episode, we discuss this thorny question, along with a recent editorial on the use of Twitter in academia pic.twitter.com/ZhhEamp3WA
And here's an example of an audiogram, made with Headliner, which is useful for when you don't have video:
I often have poor self-control when it comes to avoiding distractions from my writing and coding, so I put tools in place *ahead of time* to help me get stuff done.
— Dan Quintana (@dsquintana) December 13, 2019
In the latest @OOSP_ORIONPod, I share how I do this practically https://t.co/YkxiCszslo pic.twitter.com/2EUsB1dwGb
Notice that transcription was added to these videos. Many people can't use audio when they're browsing their feed, so adding a transcription really helps.
To add transcription to your videos, just upload them to YouTube, which performs an automatic transcription (even on non-public videos). Your results will vary, but it's much faster than doing this manually. This happens in the background, and usually takes about four times the length of your episode to create these automatic captions. Like YouTube, Headliner's automatic transcription is fairly accurate but you will need to do some edits.
Common concerns
Here are a few concerns I often hear when I've spoken to people about podcasts, and my responses:
I hate hearing recordings of my voice: We all do, you'll just need to get over this. It gets slightly easier over time.
My topic area is too niche: If people are talking about your topic online, or there's a subreddit, then it's not too niche. There's an audience for pretty much everything out there.
I won't have any listeners: Every podcast started with no listeners. Building an audience takes consistency and patience.
I'll have nothing to talk about: Follow discussion of your topic on social media and you'll never run out of episode ideas.
I don't have a budget: All you need is a mic. The tools to make a great sounding podcast are free.
Some final points that weren't covered in the sections above
- It's hard (but not impossible) for a single person to carry a podcast from episode-to-episode. Either get a co-host or regularly invite guests. Most people love talking about their work and ideas, so you should't have trouble finding guests to join you.
- Record your first five episodes ahead of time and let your listeners know that they can expect more to come as they're already recorded.
- To build an audience, you need to be consistent with your episode releases—even to the hour. Some people like knowing that they'll have an episode ready for their commute, for example. Your release schedule is up to you, but I think the longest time between episodes should be a month if you're doing a regular podcast. Release your episodes using a day of the week schedule ('every Thursday') or a day of the month schedule ('first and third Thursday of the month').
Did I miss something in this podcasting guide that you wanted covered? Just contact me, and I'll do my best to help you out.
You can follow me on Twitter and Facebook, and subscribe to my regular bi-monthly podcast, 'Everything Hertz' (methodology in the biobehavioral sciences) and my semi-regular podcast, 'Physiology and Behavior' (psychoneuroendocrinology and psychophysiology). I also have an old podcast series, 'The Startup Scientist' (building your scientific career).