A non-technical guide on making a personal academic website for free

If you're an academic you need a personal website to share your publications, your research projects, and contact details. Without a personal website you're leaving citations, collaborations, and talk invitations on the table. This guide will walk you through how to make your own academic website for free in a non-technical manner.
This is the third annual edition of my thread tutorial. One big change for this year is that now I use Visual Studio Code instead of Rstudio. When I tried making this updated tutorial with Rstudio I kept running into problems, so that's why I made the switch. Don't get me wrong, Rstudio is great when it comes to statistical computing, but Visual Studio Code is much better suited for web development.
The second big change, which was my most requested from last year's tutorial, is Github integration. By hosting your files on Github, you can version control your changes and make updating your website much easier. If you don't have Github account already, get yourself a free one. You will also need a free Netlify account, which is where your website will be hosted.
Let's begin!
Go to the Wowchemy website, then click on "Get started" and then "Create your resume or academic site now with Github", and then "Connect to Github". You may need to grant Netlify access to Github.
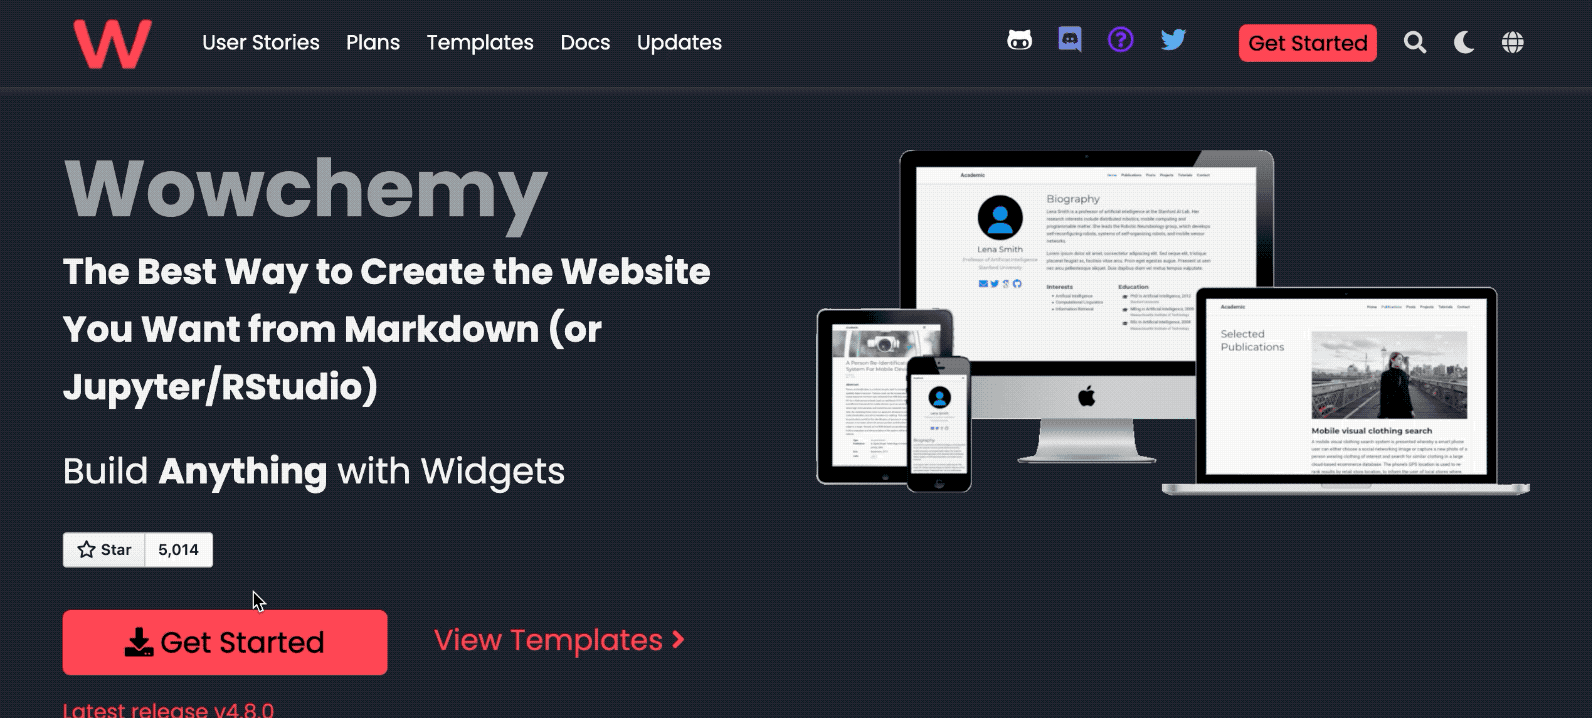
Netlify will then deploy your website and put it online, which will take about a minute or so. Click on the link to load your website. Using this template you can remove and add content to your liking.
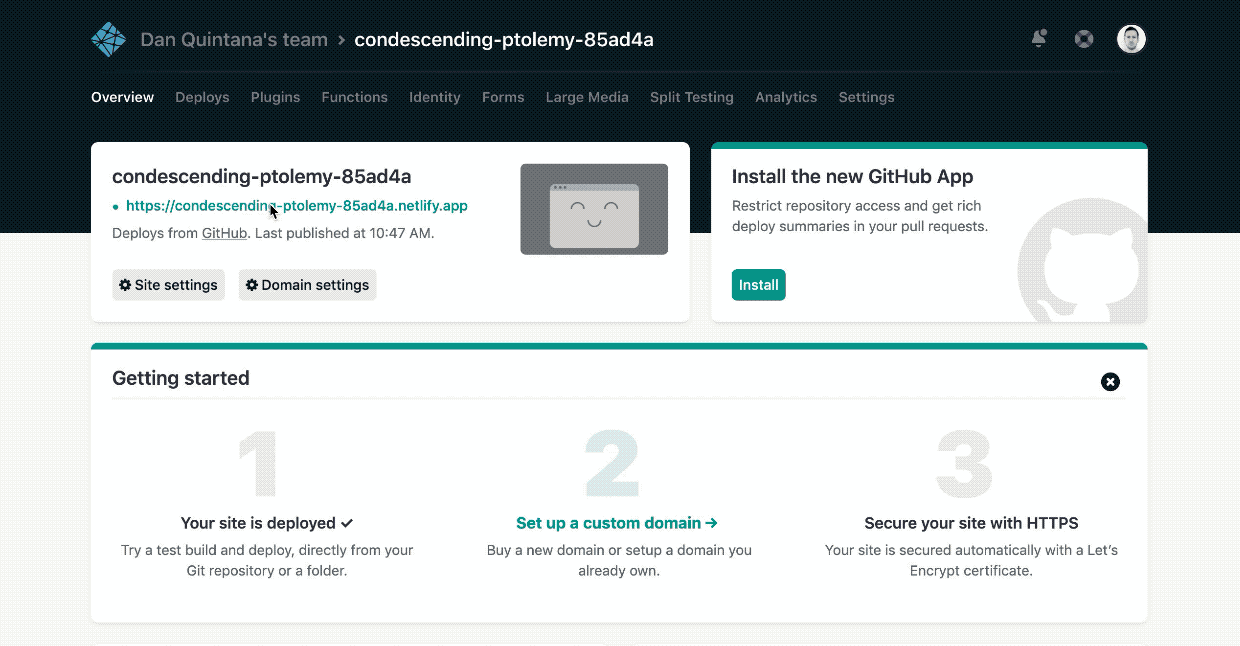
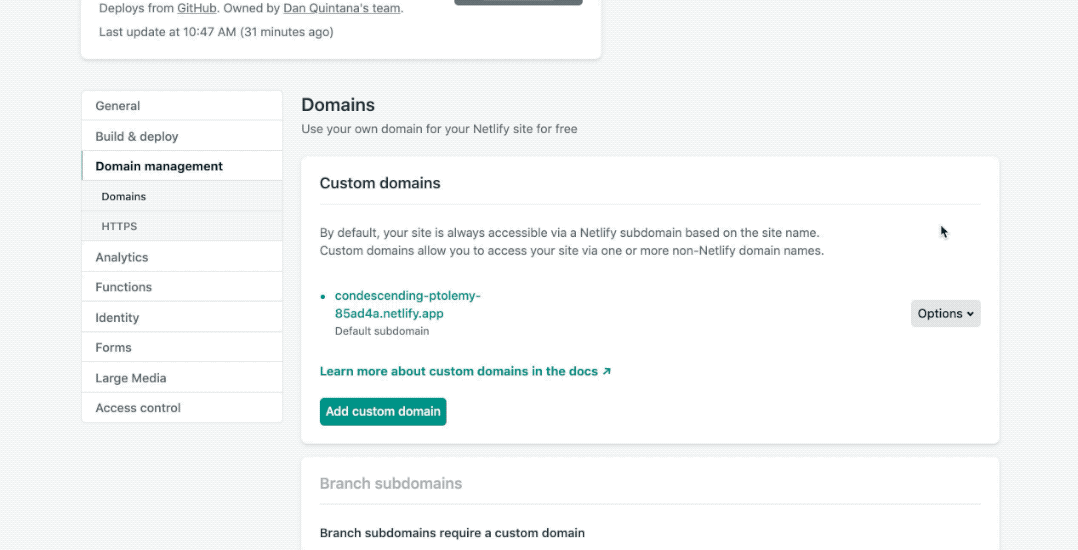
You can also change the name of your website. It's also possible to use a domain name that you own, if you like.
Within Github, your website will be hosted on a "repository", which is just another name for a folder and also known as a "repo", for short. Go to your repository page as you'll need the URL to this page soon.
Now open up Visual Studio Code. If you've used RStudio before, you should be fairly comfortable with the set up. But if you haven't, it's fairly intuitive.
First thing you will need to do is download and install two extensions. Click on the Extensions menu, search for "Github Pull Requests and Issues", and then install this. This will allow you to interface with Github, where your files are hosted.
You may be asked to give Visual Studio Code access to your Github repositories, so do that.
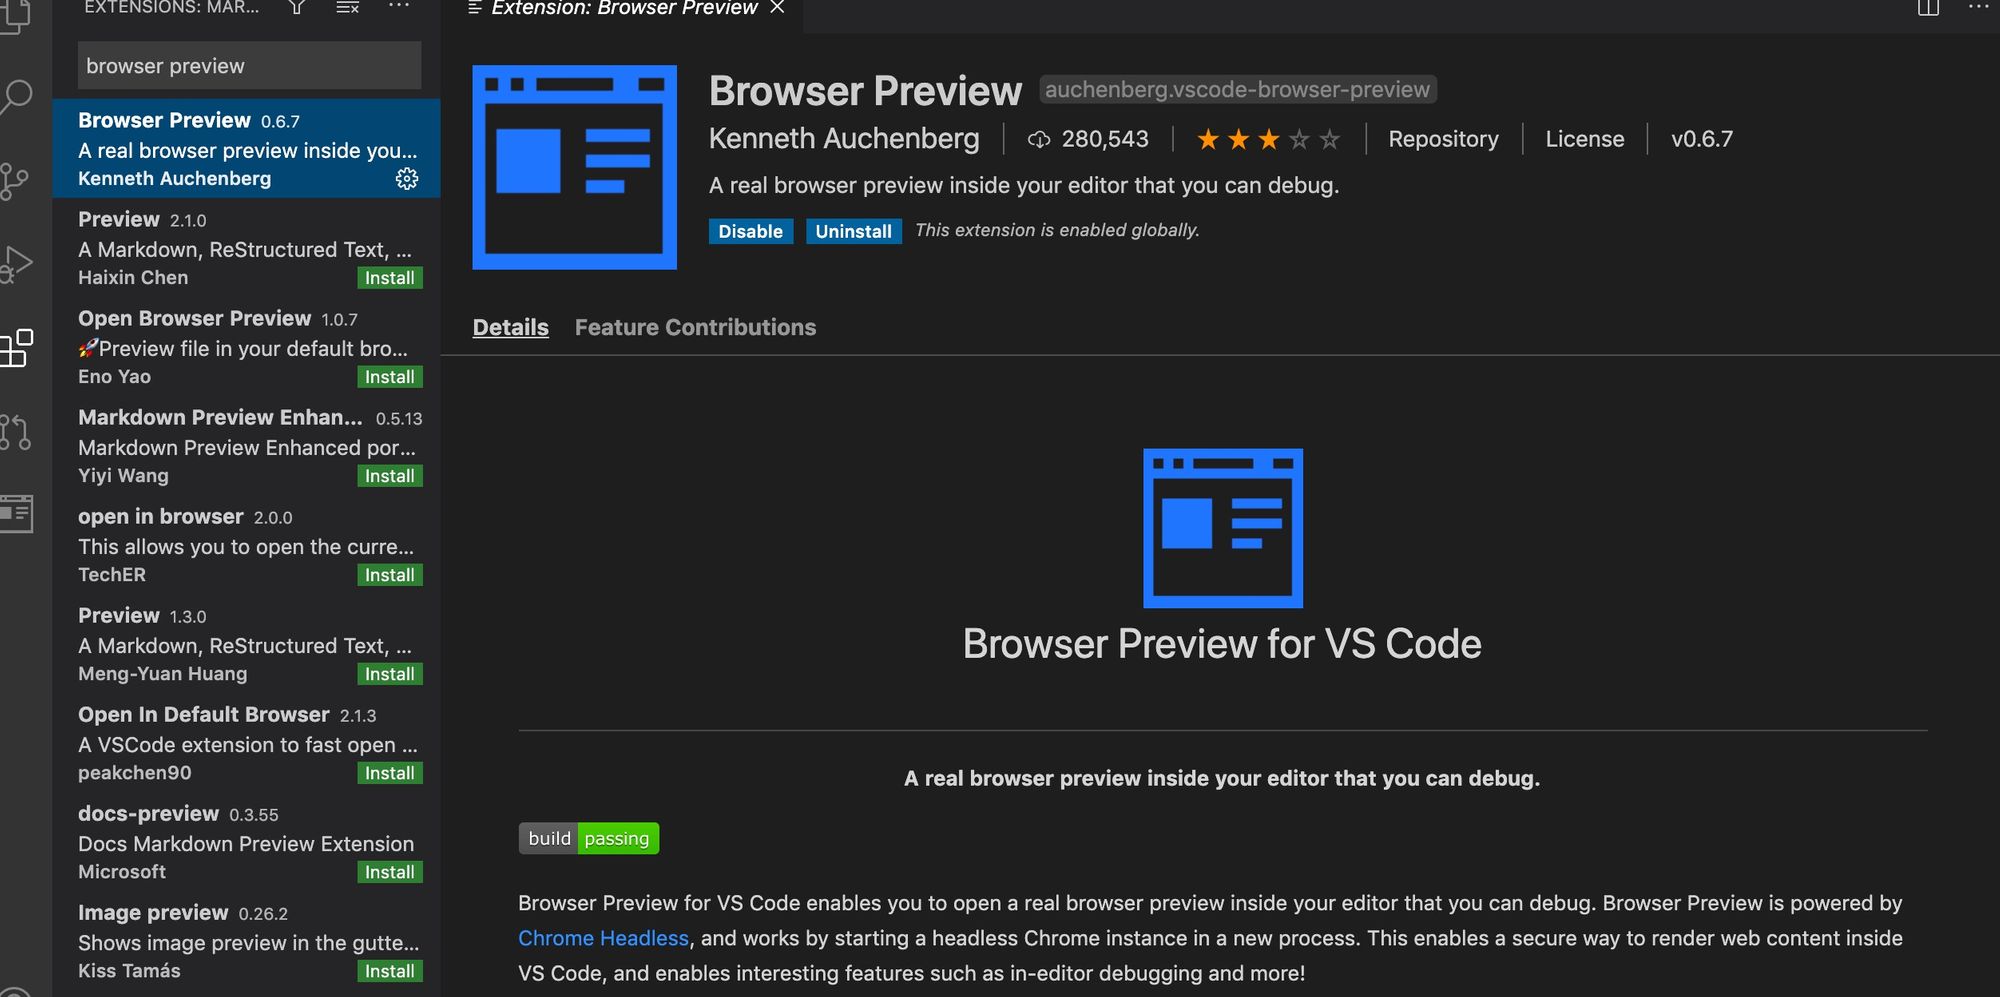
Next, install the "Browser Preview" extension. This will provide a real-time preview of your website as you edit it.
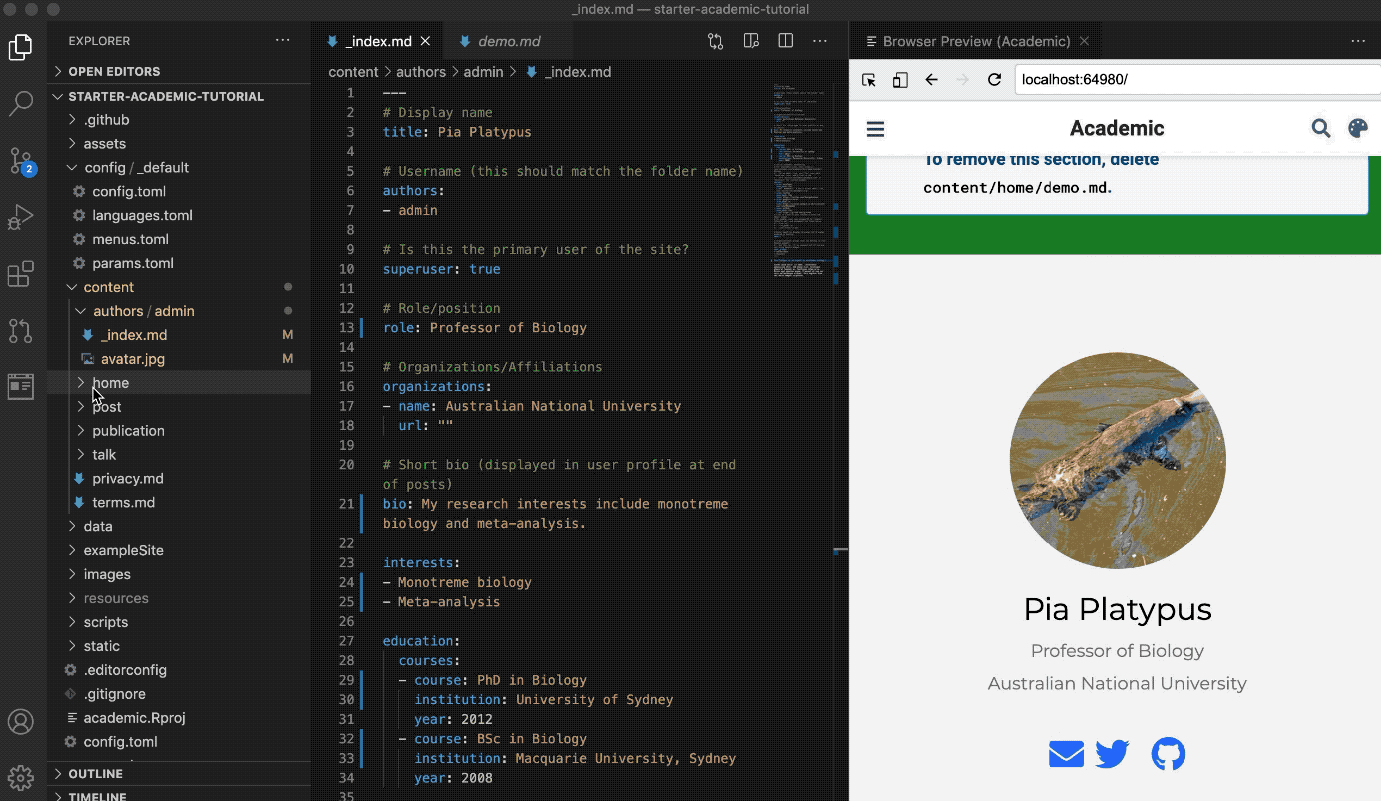
Now we're going to clone our repository to Visual Studio Code. Click on the "Source Control" tab, then "Clone repository", and then paste in the URL of your Github repo. You will also have to assign a folder on your system for your local files.
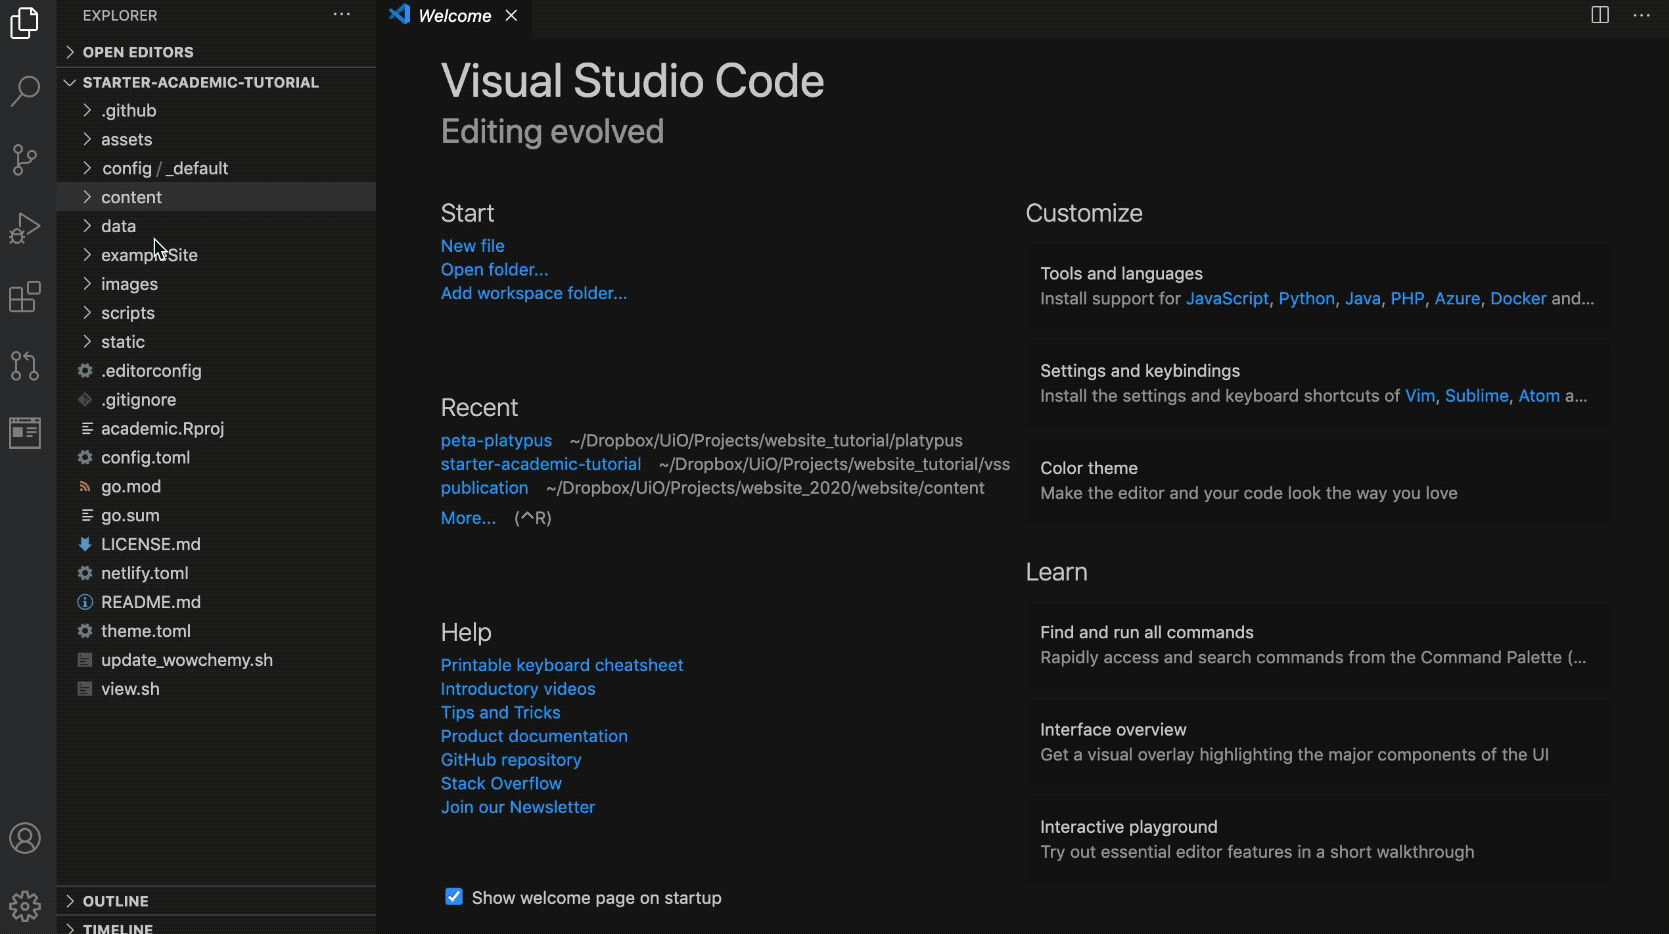
Your files are now in Visual Studio Code. Most of the files that you're going to be working with are in the "config" and "content" folders.
Before creating your site within Visual Studio Code, you will need to install "Hugo Extended" and its prerequisites, following the instructions here (depending on your operating system).
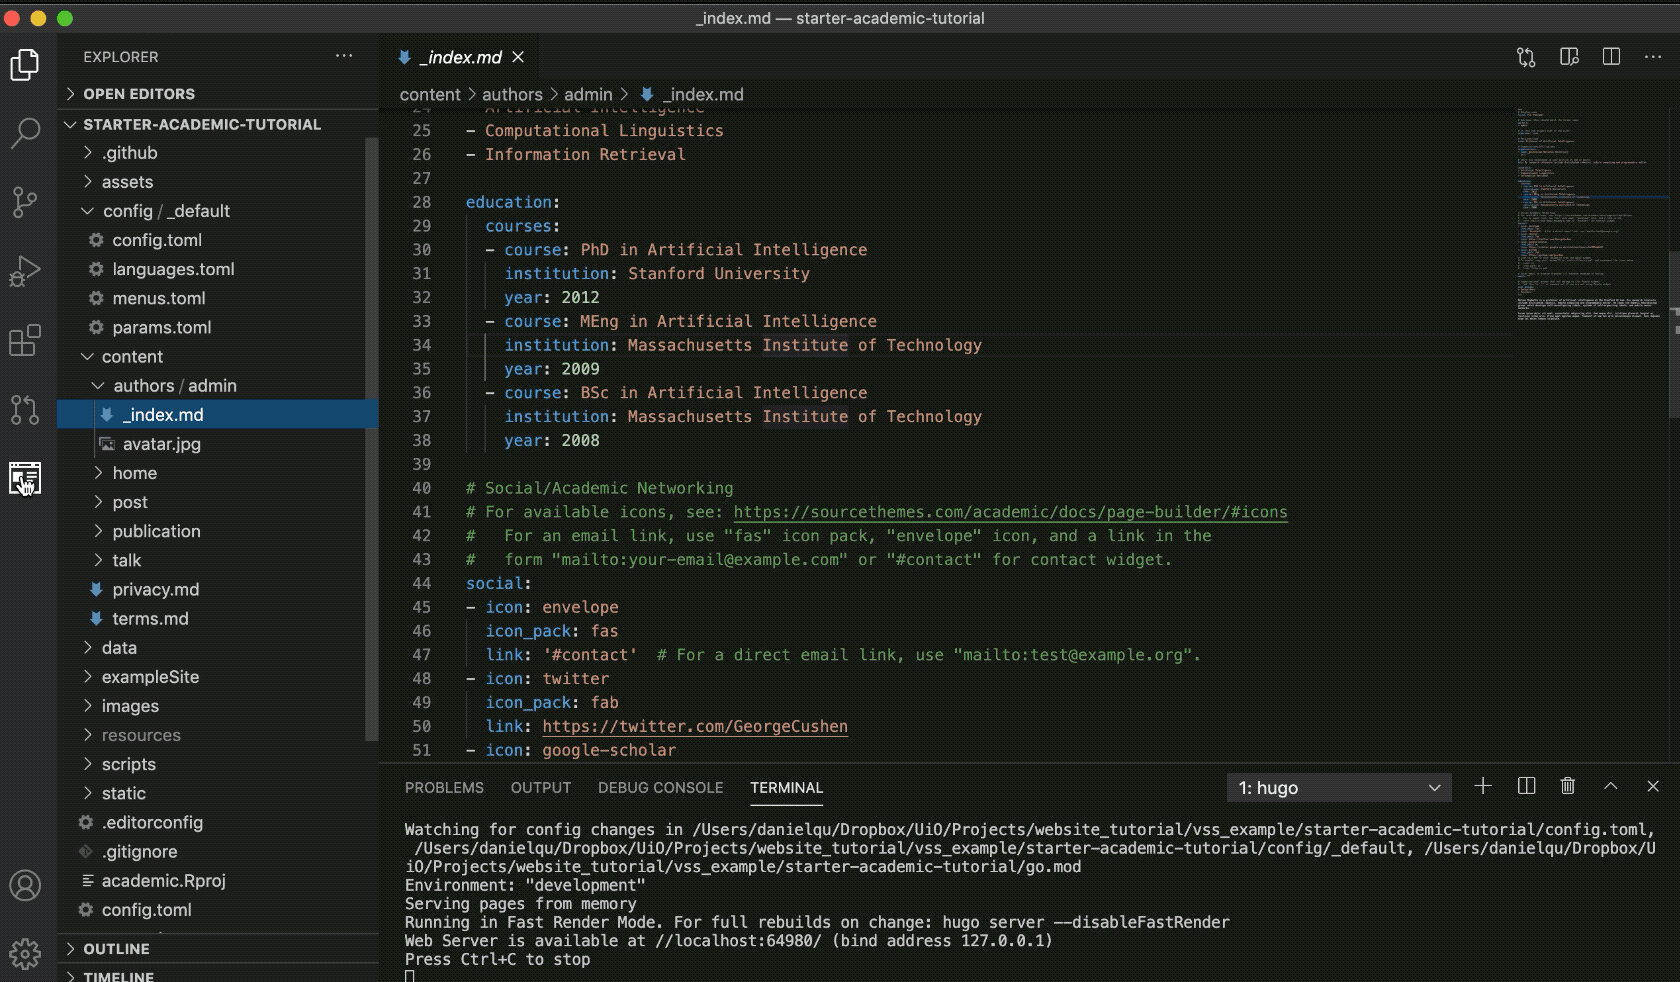
Now open up a new terminal window in Visual Studio Code by clicking on the "Terminal menu" and then "New Terminal". Type in the following command in the Terminal window: hugo server
When you run this for the first time, you might be prompted to install "Go". You download this programming language from here.
Now open up the Browser Preview extension you previously installed, by clicking on its button on the left. Then, paste in the local host address that you are given in terminal into the browser preview. This will load your page.
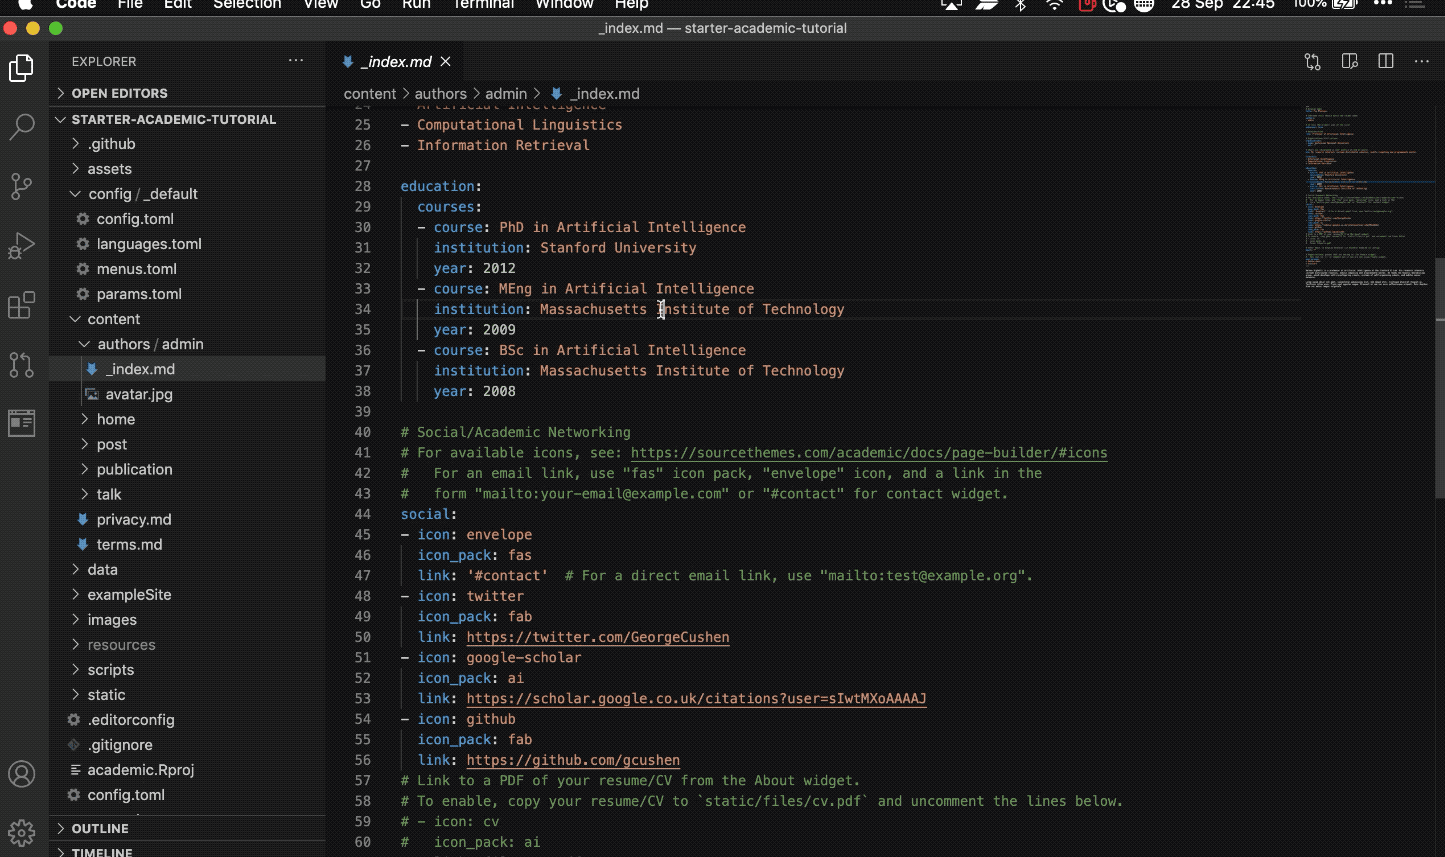
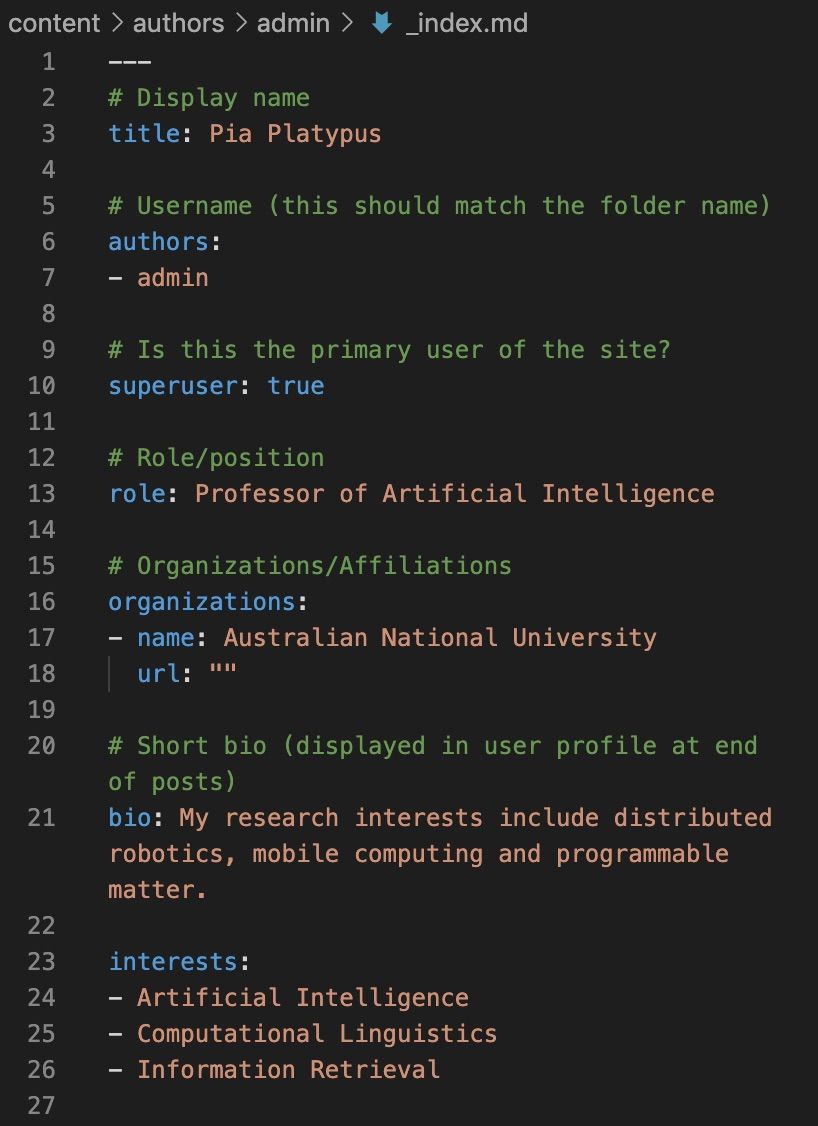
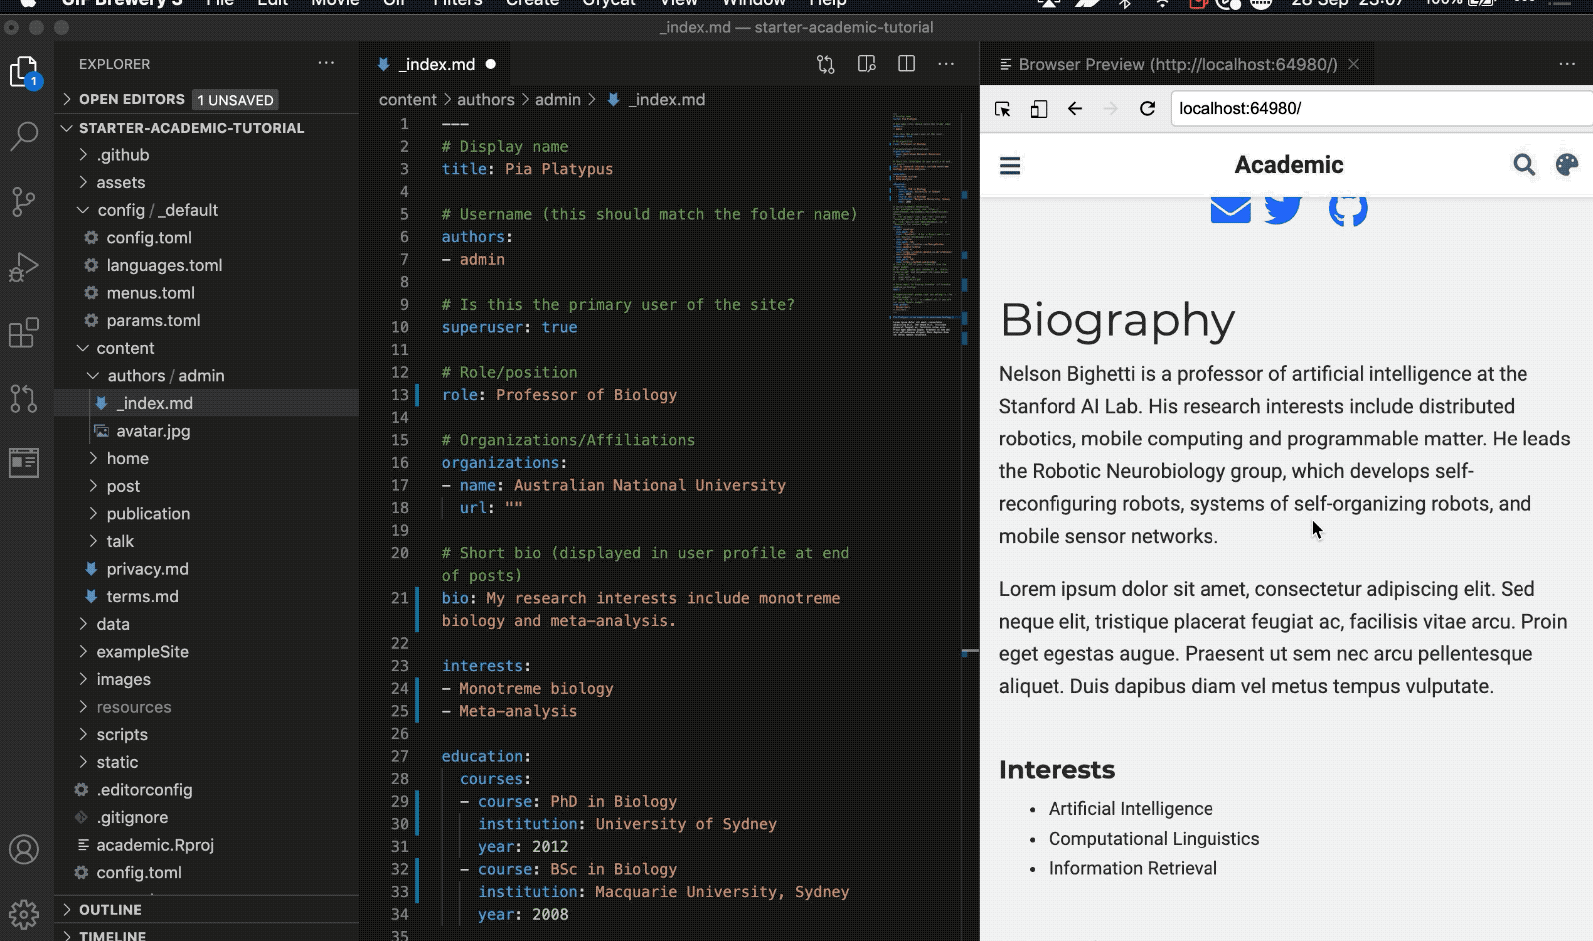
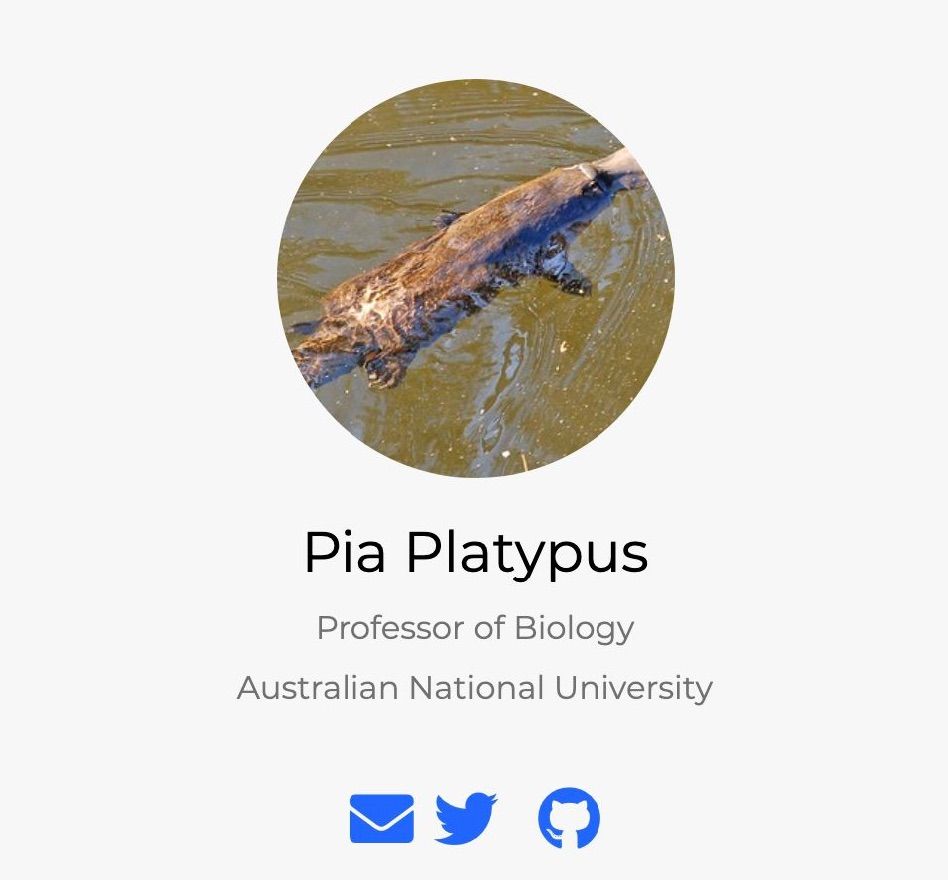
The first thing you're going to do is to change the name and picture. Navigate to "content/authors/admin", and then open up the "_index.md" file. Here you can change your display name, role, affiliation, short bio, and research interests.
When you change any details and save the file, your preview will automatically update.
To change the profile picture, just replace the "avatar.jpg" file in the "content/authors/admin" folder with your profile picture of choice using the same file name. As soon as you do this, your site preview will automatically update.
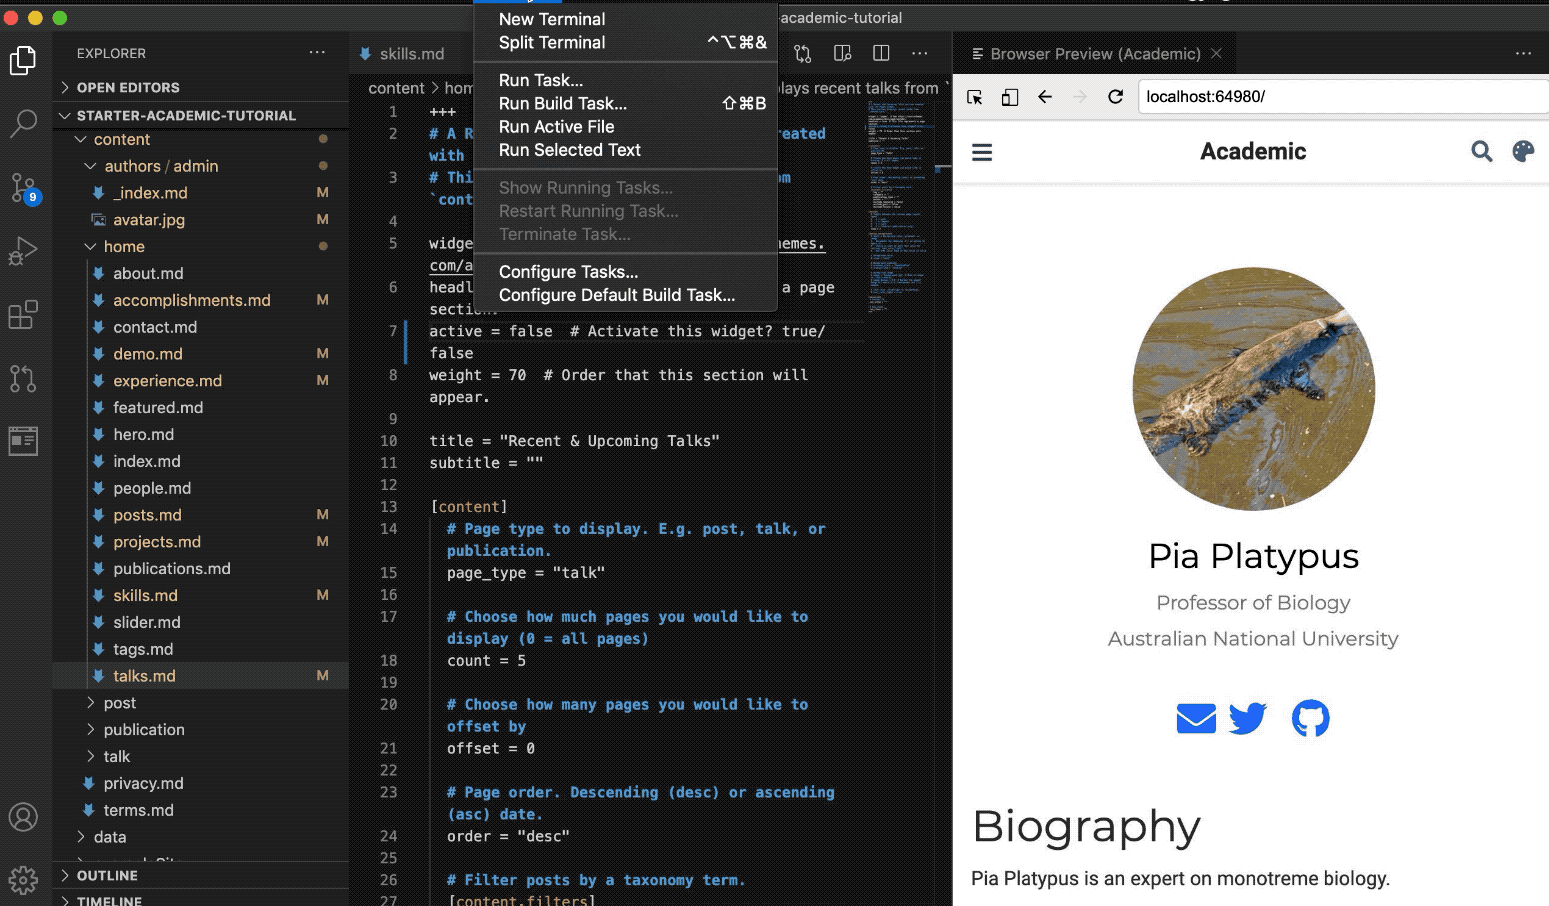
The main page is made up of a series of "widgets", which are found in the "home" folder and you can edit or delete altogether. To delete any widget, open up a file and change the "active" command into "false". First, you're going to delete the demo widget (i.e., the green section at the top of your preview). You can do this with any widget. You can also customise your widgets in these files.
For the purposes of this tutorial, let's also remove the "skills", "experience", "accomplishments", "posts", "projects", and "talks" widgets. If you want to keep any for your site it's up to you.
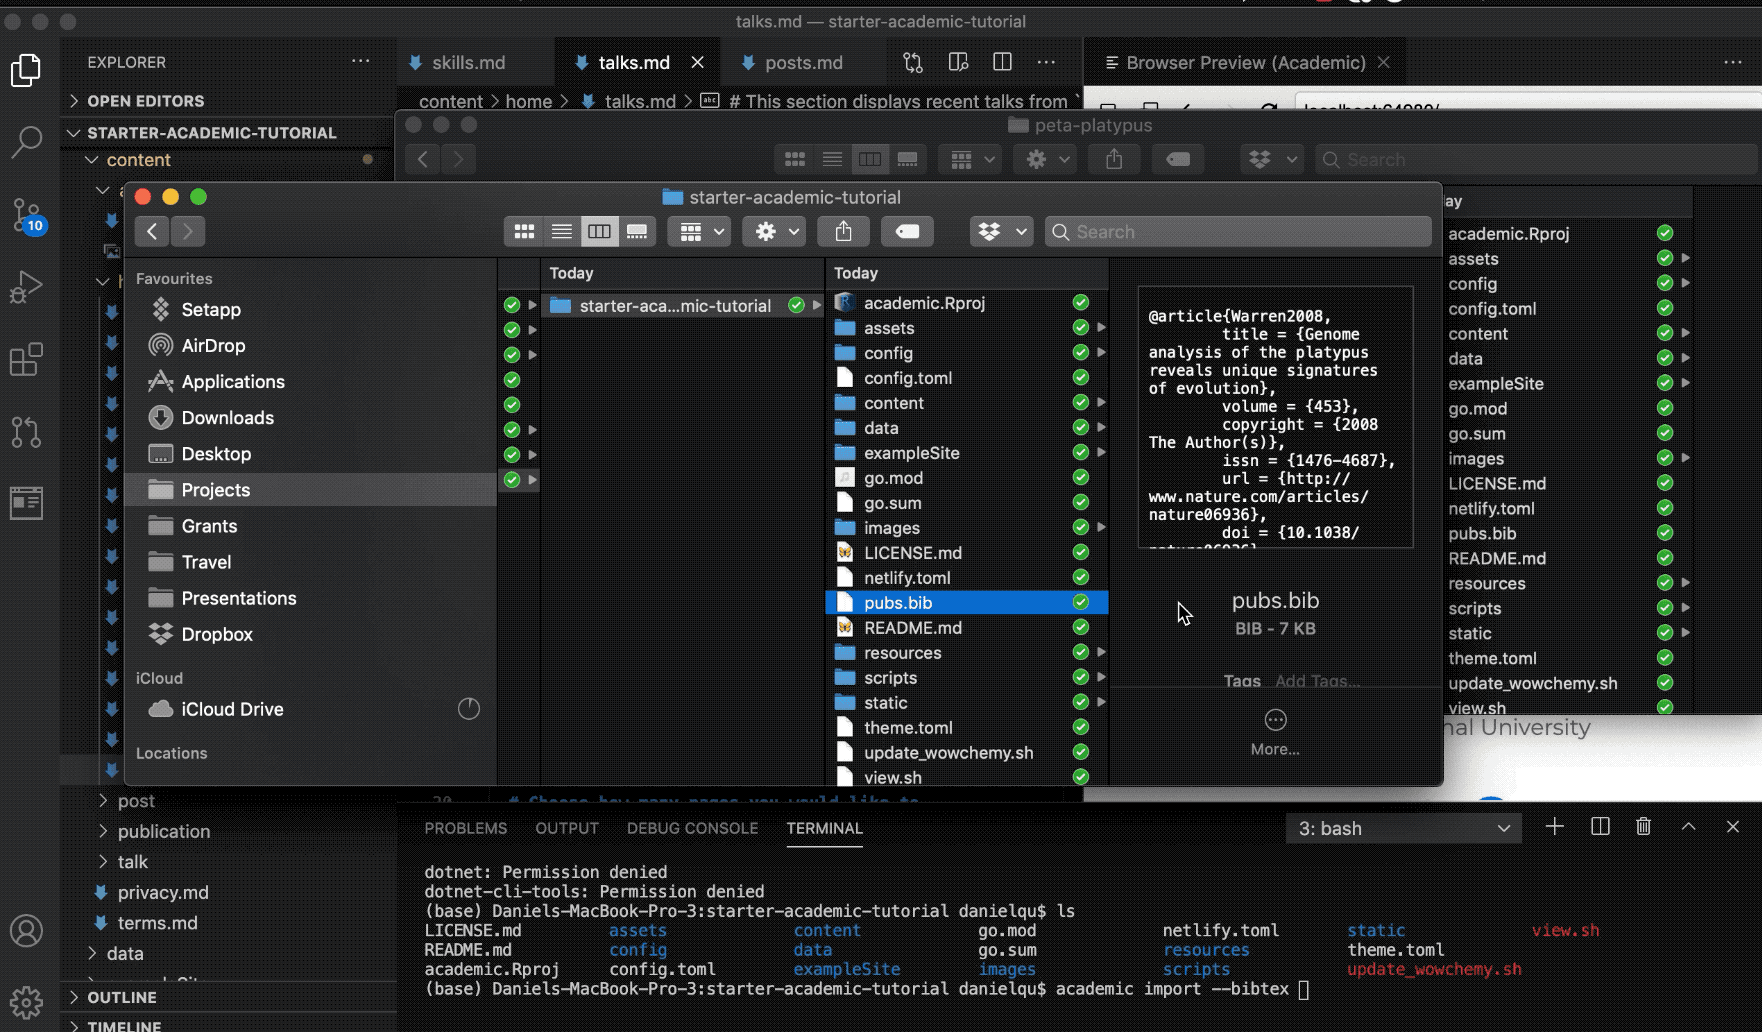
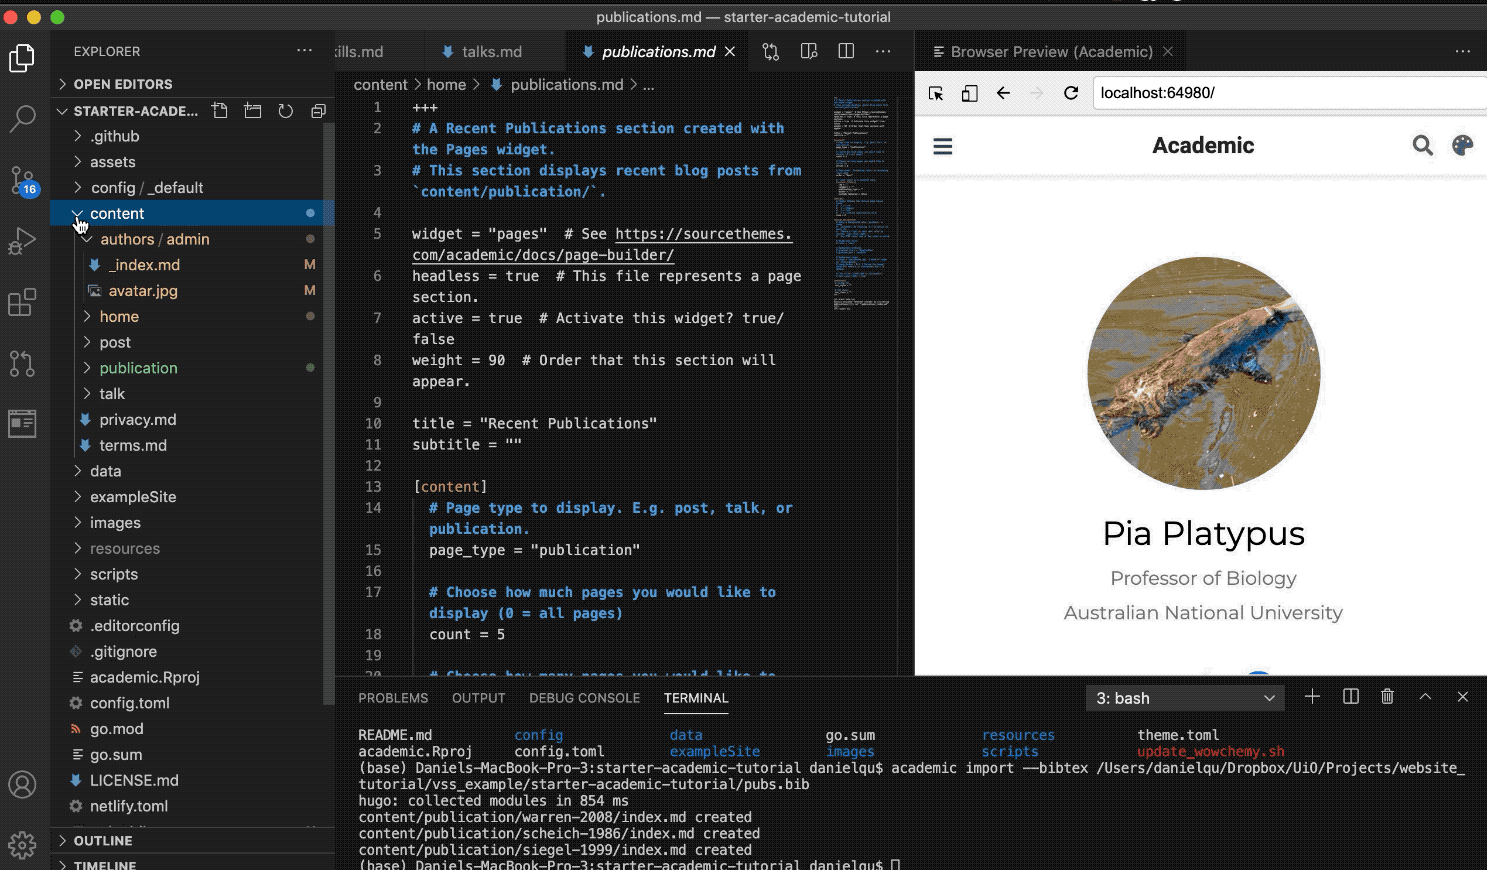
One of the most important elements of your website is your publication list. There's a SUPER easy way to import all you publications via a bibtex (.bib) file. Simply export a list of your publications from your citation manager (I recommend Zotero) as a .bib file, and then put this file in your main website folder.
As outlined here, download the "academic" admin tool and install Python 3.
Assuming you've installed Python 3, bring up a Terminal window in Visual Studio Code, and then type in the following command: pip3 install -U academic
You should already already in your website folder in Terminal, check by with this command: ls
Terminal should return something like this:

If not, then you will need to navigate to your website folder using the cd command (see here for a tutorial if you're unfamilar with these commands).
Now use the following command including the path to your .bib file, which will create individual pages for each of your publications.
academic import --bibtex <path_to_your/publications.bib>
Here, I called the file "pubs.bib". If you're using a Mac, you can drag your file into terminal and it will paste the file path automatically.
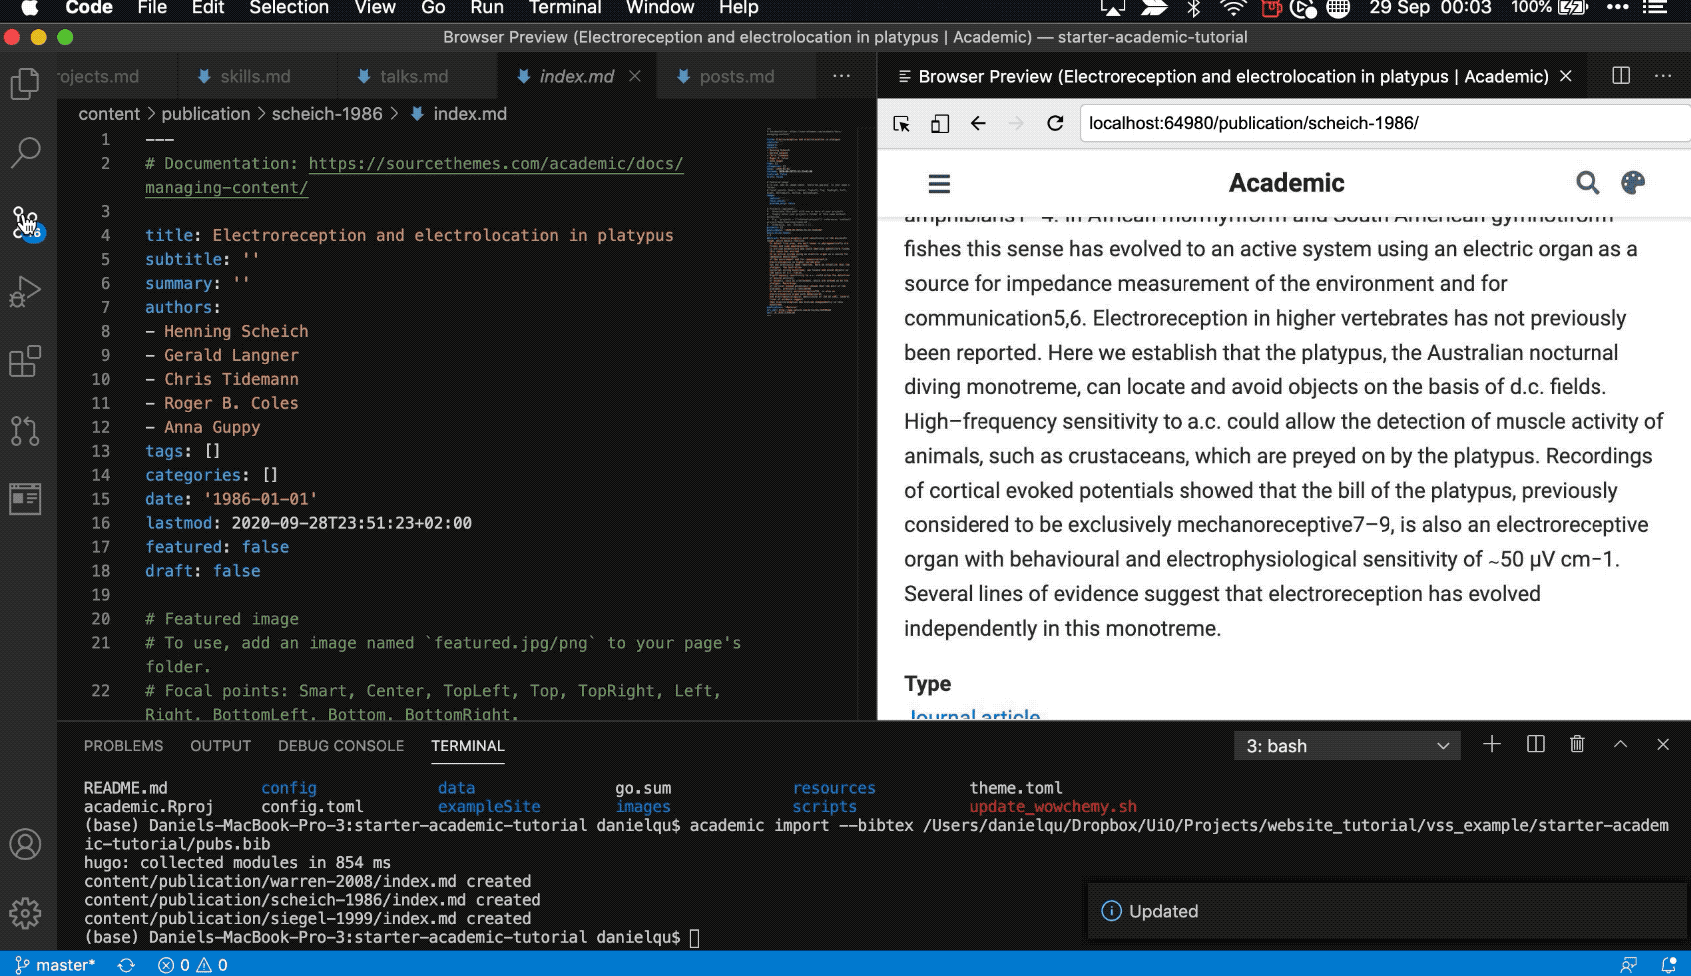
You can open up each file, modify if necessary, and check how it looks on your webpage.
Now that you've added your publications and edited your bio, you're ready to update your website. Click on the "Source control" button, which should have a number that reflects how many changes you've made. Add a small message (e.g., "version 1") and commit on "master", as instructed in the text box. Then push the changes to your Github page.
These changes are now reflected on the published page, which you can check out here: https://pia-platypus.netlify.app/
You can customise your page in the params.toml file, which you'll find in the 'config' folder. There are a few preset themes to choose from.
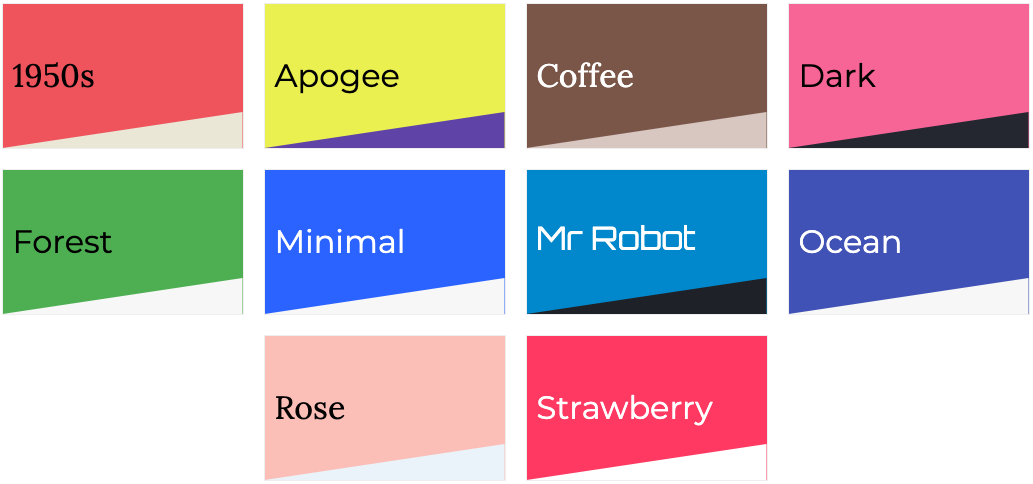
Just change the name in the params.toml file. See this page for more options.
There plenty of different elements that you can include on your page other than publications and talks, including adding a PDF of your CV, a blog, and a section describing your research projects. See this page for a walkthrough of all the elements you can add.
Let me know on Twitter if you found this tutorial useful or would like me to discuss a specific feature regarding creating your own website.