How to make your own website for free in an under an hour

UPDATE: These instructions are now outdated. See my 2020 guide instead.
If you’re an academic you need a website so that people can easily find info about your research and publications. You will miss opportunities, like speaking invitations and collaborations, if scholars can't find your information online.
This tutorial will walk you through how to make your own website for free using the blogdown package in RStudio.
There are some great point-and-click website creation services available, like Squarespace, you need to pay a fee of about $10 a month and the templates are not well-suited for academic webpages.
Alternatively, blogdown and RStudio is free and can integrate with the Hugo framework, which provides several website templates. It also uses Markdown, which is a straightforward markup language. So let's get started!
Install blogdown in R using this command install.packages("blogdown”)
Then start a new project, entering “gcushen/hugo-academic” as the Hugo theme. Keep the other options ticked. This will download all the necessary files.
Now, load blogdown using this command library(blogdown) and then install the "hugo" framework, which is the backbone of your website blogdown::install_hugo(force = TRUE)
Then build the template site using this command blogdown::serve_site()
The viewer window will render a mobile version of your site, but you can also see a desktop version in your browser.
So now you can see what your website will look like. All you have to do is to change the information in your website files. Let’s start with the title of your website, which can be changed in the config.toml file.
To edit this file, and the others that are referred to in this guide, just select it in the RStudio file browser.
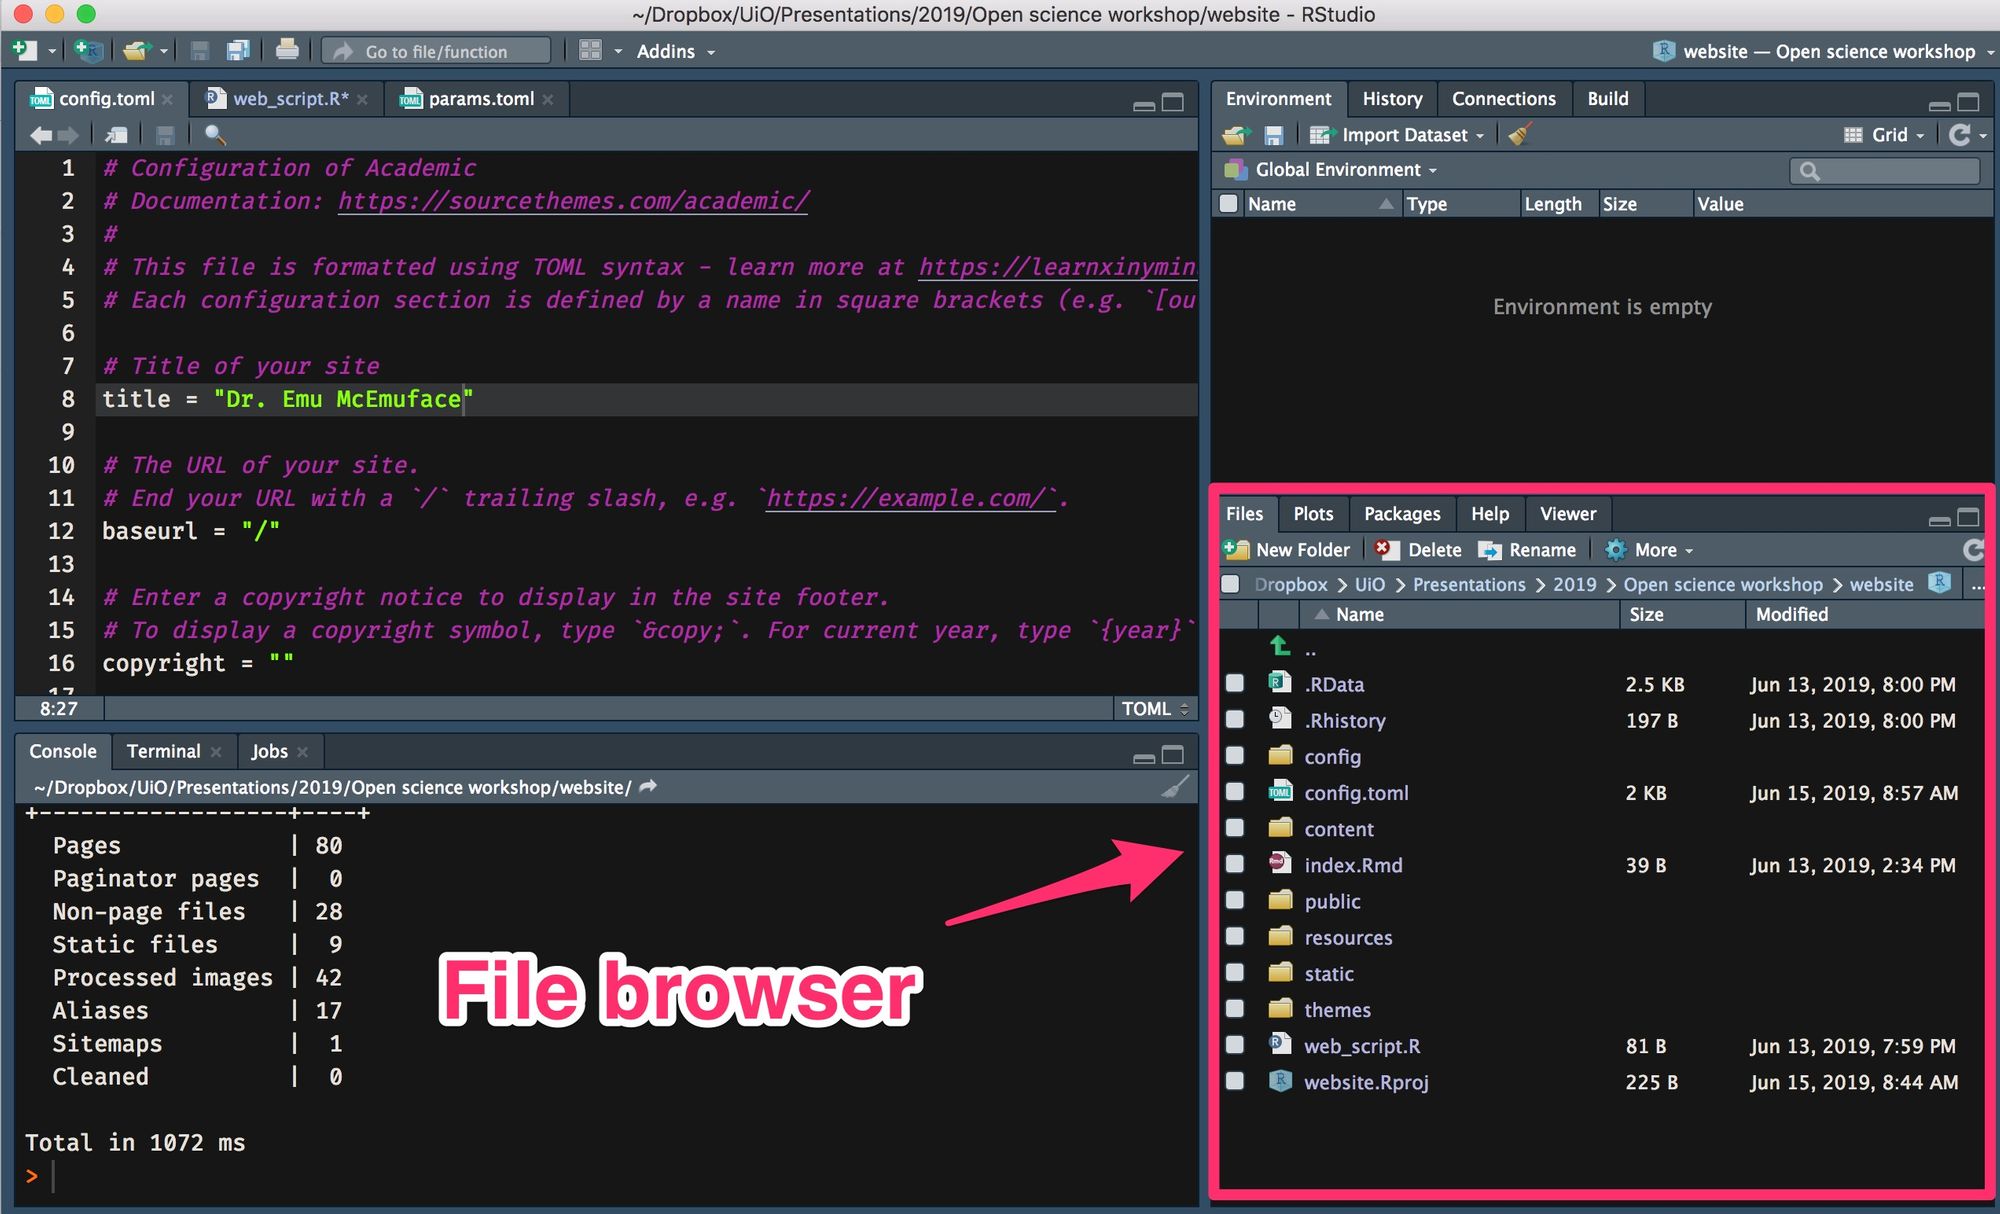
Of course, you can edit these files in a text editor, but it's much easier to edit these files within RStudio.
In the config/_default/params.toml file you can change the color theme and font style of your website, so have a play around with these options.
Your main homepage is made up of a set of widgets, which you can customize or remove entirely. For example, let’s say we want to remove the big header image, called the “hero” widget. Let's open up the content/home/hero.md file and change active = true to active = false
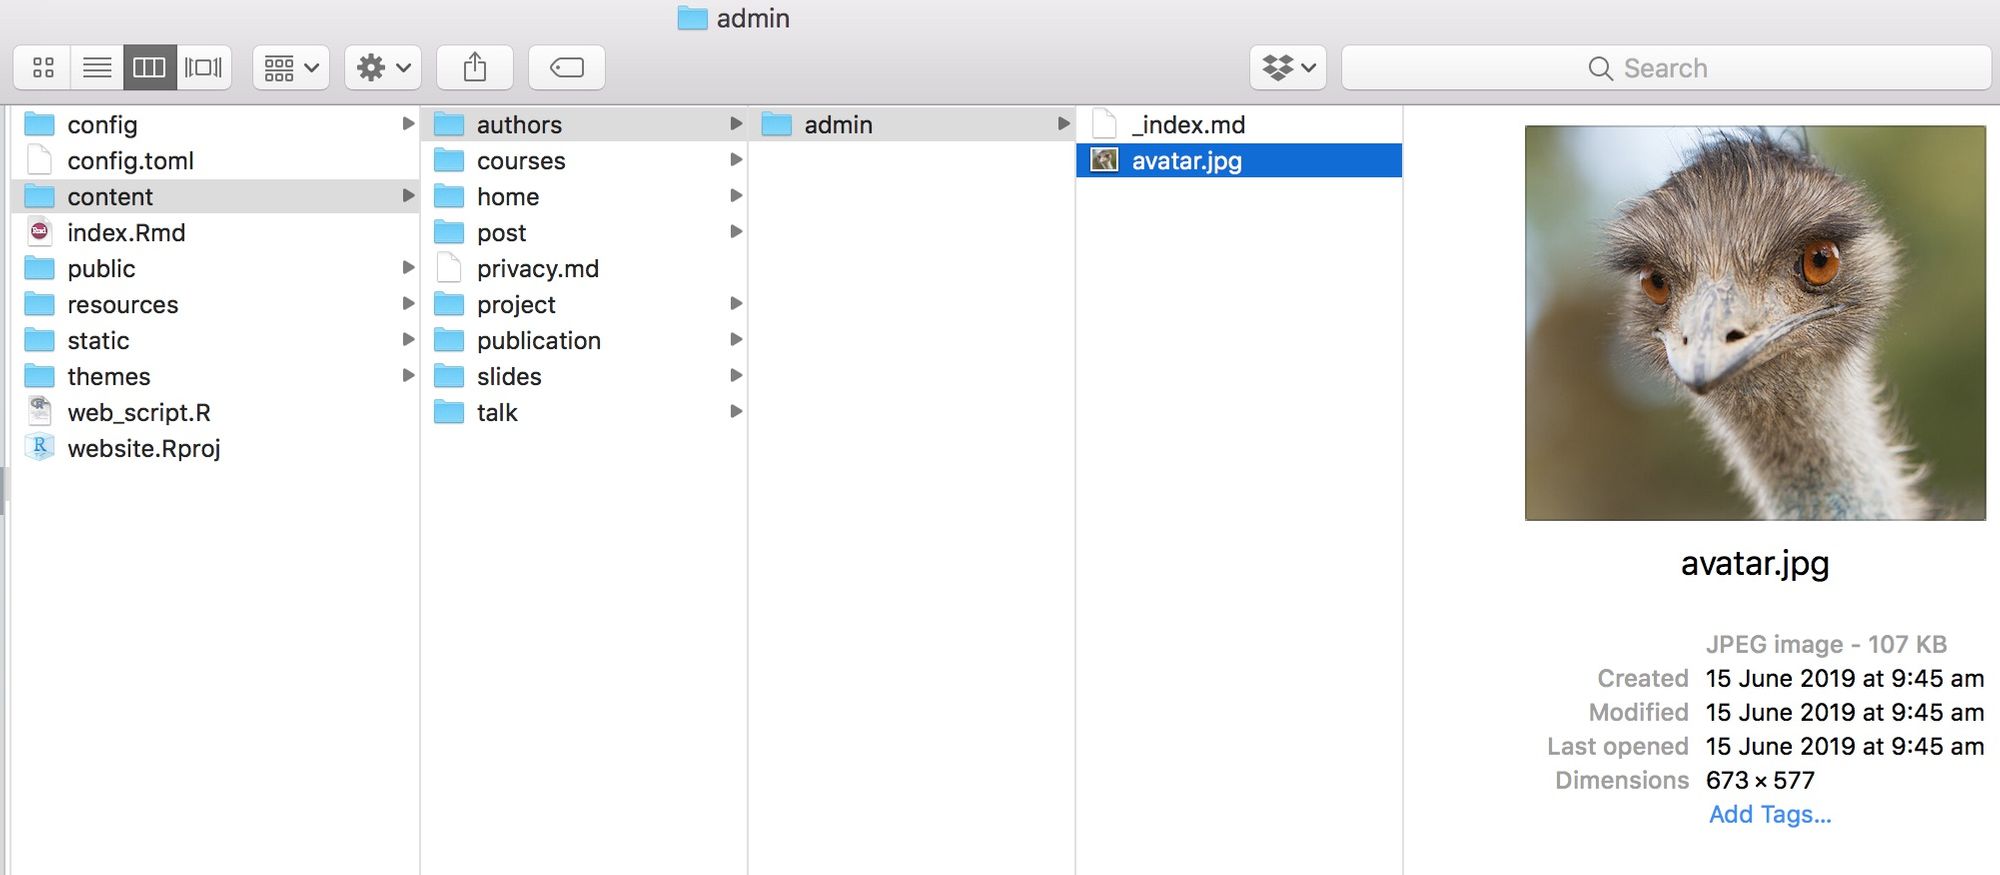
Let’s now update the profile photo. Just save your profile in the content/authors/admin folder, calling the file avatar.jpg. This will automatically update your profile picture.
Edit your biography details (e.g, position, affiliation, education details) in the content/authors/admin/_index.md file. In this file you can also add your social media details and a link to your Google Scholar profile page.
To edit your contact details, navigate to config/_default/params.toml and scroll down to the "Contact Widget setup" section.
To add a PDF of your CV, copy your CV to static/files/cv.pdf and uncomment (i.e., remove the # signs) that prefix the CV section lines of the file.
To see how your updates look on your website, save the file in Rstudio, and then run the blogdown:::serve_site() command.
These markdown (.md) files have detailed comments on what each bit code does. If you're still not sure what something does, just edit your script and see what happens. You can always undo your changes.
To edit your publications, go to the files found in the content/publication/ folder. Each publication has a dedicated folder. To include your first publication, navigate to the content/publication/journal-article folder, and open up the index.md file.
Edit your publication's details and then save your file. You might want to rename your folder to make it easier to identify. For add more publications, simply copy and paste the example folder and edit accordingly.
To include an image to be associated with your paper (e.g., a figure from your paper), just add it to your publication's folder and call it featured.jpg.
To change what appears in your website's header menu, edit the config/_default/menus.toml file. Just edit or delete sections as you wish. If you would like to add your CV to the menu, just add a menu item, which you can call CV (name = "CV"), which includes url = "files/cv.pdf".
When you’re done with your edits and you're happy with your page, it’s time to put it online. The easiest way to do this is via Netlify.
One way to upload your website and keep it updated is by hosting your files on Github. If you're going to be updating your site regularly, this is probably the best way to go, but this is the topic of another tutorial post.
But if you want to get set up now, just drag the public folder into Netlify within the "deploys" section of your admin settings. It should take about 5-10 seconds for your site to go live.
You can edit your domain name, which will include "netlify.com” at the end of your address. If you would like a cleaner domain name, you’ll can purchase one for the cost of a few coffees per year. I recommend Namecheap, who is currently offering free domain names for university students.

Here's the website we just made. For a completed website, here's mine with a custom domain name.
If you’ve made your own website using this tutorial, let me know on Twitter!